
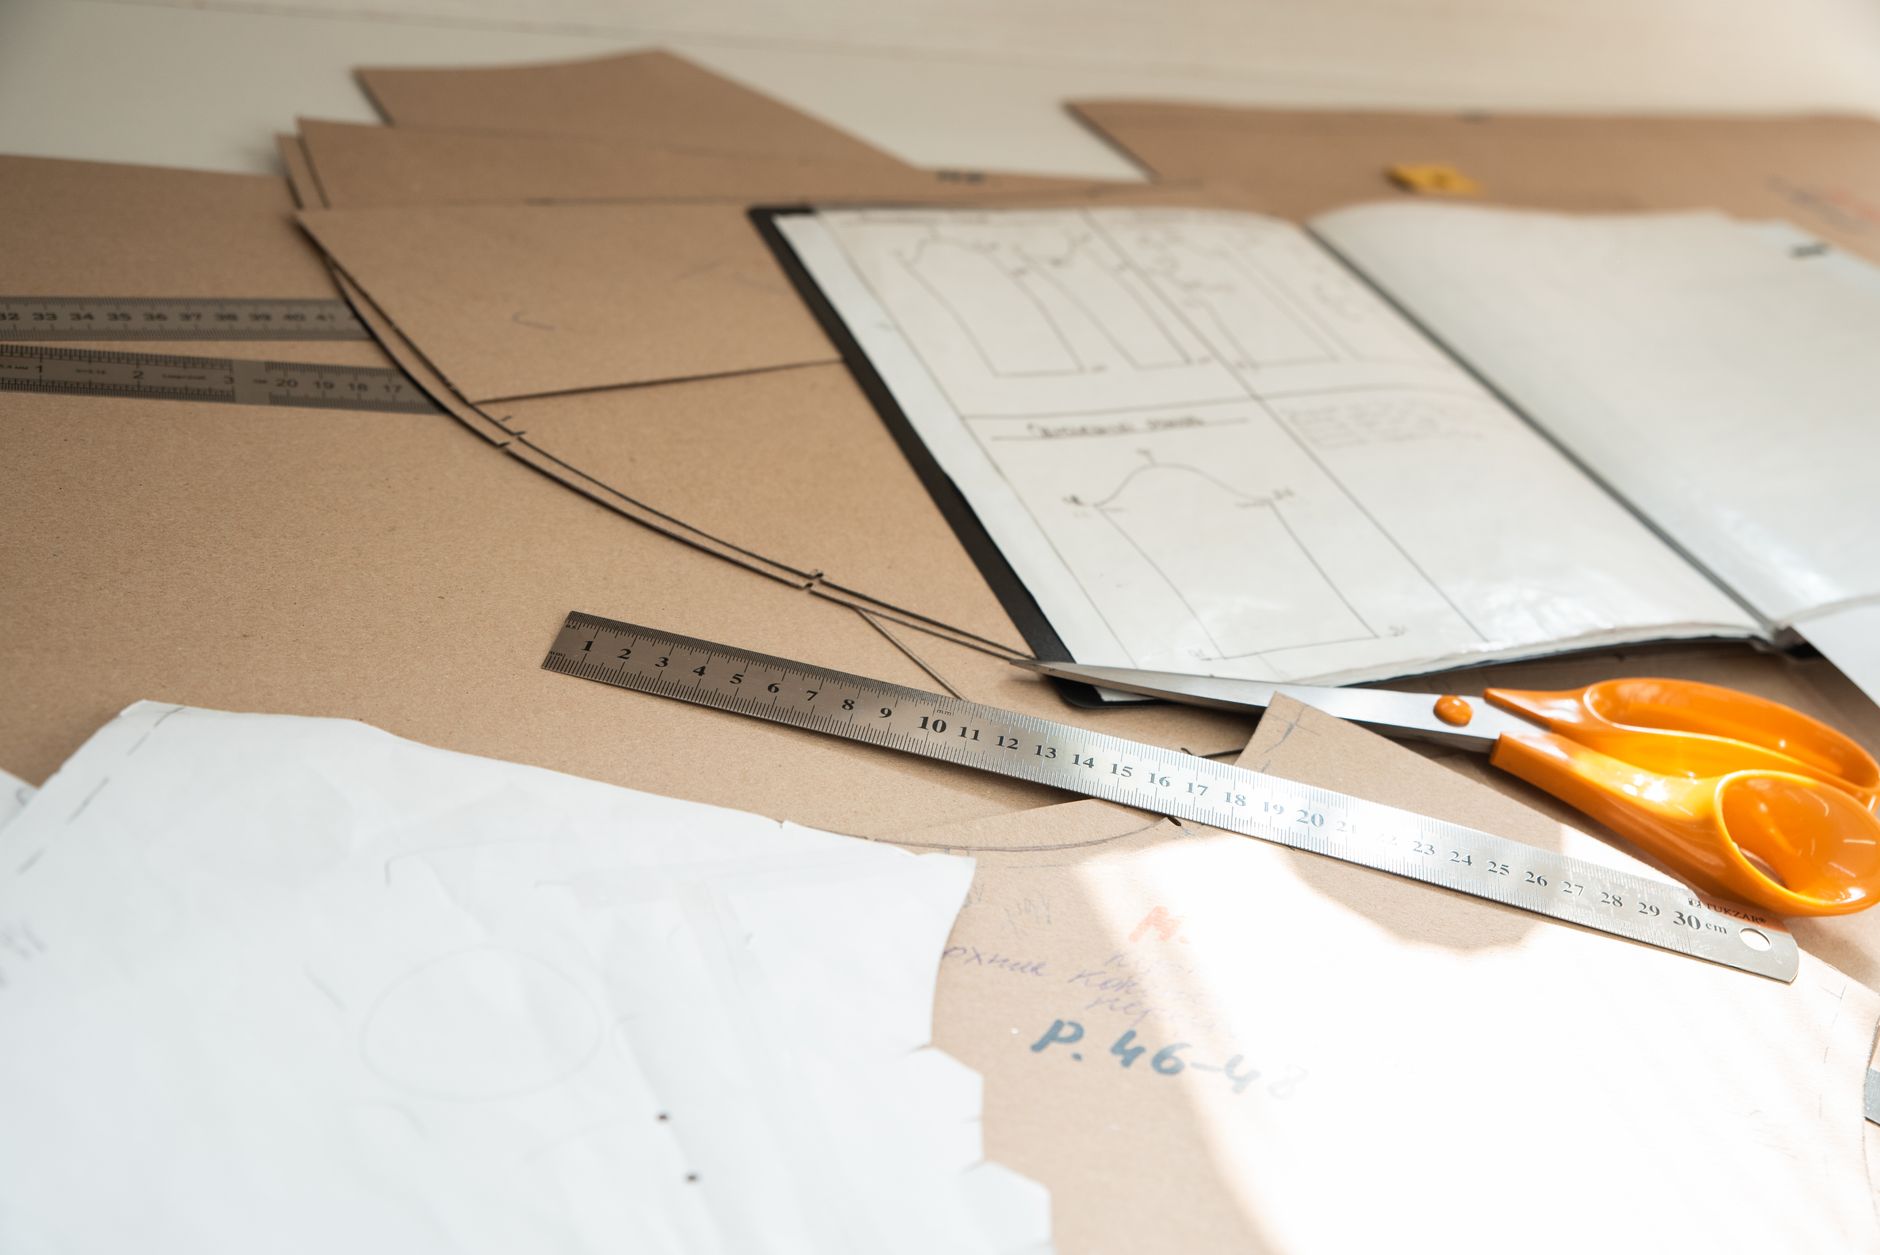
Fabric grain lines determine how every piece of cloth behaves once it's cut and sewn. Get the grain right and a garment drapes cleanly, sits flat, and holds its shape through repeated washing. Get it wrong and you'll spend the life of the project wondering why the hem twists, the seams pull, or the collar refuses to lie flat. It's one of those fundamentals that pattern instructions mention once and then assume you've absorbed forever.
What grain actually means
Woven fabric is made from two sets of threads crossing each other at right angles. The warp runs the length of the fabric, parallel to the selvedge. The weft runs across the width, from selvedge to selvedge. Together, these two directions make up what sewists call the "straight grain." Understanding woven fabric types helps here, because grain applies differently depending on the weave structure.
The straight grain is the most stable direction. Fabric cut on the straight grain holds its shape and resists stretching under normal wear. Most pattern pieces are cut on the lengthwise grain (parallel to the selvedge), because the warp threads are under more tension during weaving and are therefore the least stretchy direction of all.
The bias is the diagonal, sitting at 45 degrees to both the warp and weft. Bias-cut fabric stretches considerably, which is why bias binding curves around necklines so gracefully and why bias-cut skirts have that fluid, swingy movement. Cut unintentionally on the bias, however, and a straight waistband will ripple and a collar will gap. There's no fixing it after construction.
How to find the grain before you cut
The selvedge is your anchor. It runs down both long edges of any woven fabric and it's always parallel to the warp grain. Pattern pieces usually include a grain line arrow that you align parallel to the selvedge using a ruler. The standard method: pin one end of the grain line arrow, measure the distance from that end to the selvedge, then pivot the pattern piece until the other end of the arrow sits the same distance from the selvedge. Pin and cut.
If your fabric has been pulled off-grain during manufacture or storage, you can sometimes correct it by dampening the cloth and gently pulling it on the true bias to realign the threads before pressing. This works best on natural fibres like cotton and linen. Synthetic fabrics often hold their distortion permanently, so it's worth checking grain before you buy if you're shopping in person.
Knit fabrics don't have a traditional warp-and-weft structure, but they do have grain. The ribs of a jersey or interlock fabric run in the lengthwise direction, and that's your equivalent of the warp grain. Cutting significantly off this line produces a garment that twists at the side seams after washing. Anyone who has worn a jersey T-shirt where the seam spirals around to the front knows exactly how this looks.
Why grain matters for digital printed fabric specifically
When you're working with digitally printed fabric, grain becomes doubly important. The print is applied in a perfectly straight orientation relative to the fabric grain. If you cut off-grain, the print motif sits at an angle on the finished piece, even if it looks square while flat on the cutting table. A grid or stripe print will make this instantly obvious. A floral or abstract print will disguise the problem until the garment is worn and someone notices the flowers are all leaning left.
For quilting projects, off-grain cuts cause blocks to distort when pressed or washed, and joining multiple blocks multiplies the error. A 2-degree deviation across one block might feel trivial. Across a 20-block quilt, it adds up to a finished piece that won't lie flat.
The bias grain: intentional versus accidental
Bias cutting on purpose is a technique, not a mistake. Sewists use the bias intentionally for binding, for facings that need to curve, and for garments designed to cling and flow. The critical difference is intention: you plan for the stretch and design the construction around it.
Accidental bias cutting usually happens when a pattern piece shifts during pinning, or when a sewer rotates a piece to fit more pieces on the same length of fabric without checking the grain line. Both are easy traps. A rotary cutter moves fast. If you cut 10 pieces quickly without re-checking grain, at least a few will drift.
Some sewists assume that a heavy interfacing will correct an off-grain cut on a structured piece like a collar or waistband. It won't. The interfacing stabilises the grain it's cut on. If that grain is wrong, the interfacing locks in the problem rather than fixing it.
Grain and fabric weight: what changes
Heavier fabrics make grain errors more visible because there's more cloth pulling in the wrong direction. A light cotton lawn cut slightly off-grain might look fine on the hanger. The same error in canvas, denim, or a heavier fabric weight will twist visibly under its own mass. This is especially relevant for bag-making, where the base of a structured bag needs to sit perfectly square, and any grain deviation shows in the finished silhouette.
Lighter fabrics are more forgiving in appearance but can still behave badly. A voile or lawn cut off-grain will distort when washed as the threads try to relax back toward their natural orientation. The hem drops on one side. Side seams shift. Pressing doesn't fix it.
Practical habits that prevent grain problems
A few specific practices eliminate most grain errors before they happen:
- Press fabric before cutting, not just after. Pressing removes storage folds that can disguise how the grain is sitting.
- Measure the grain line from both ends of the arrow, not just one. One measurement is a pivot point, not a confirmation.
- Use pattern weights rather than pins for slippery fabrics. Pins pull the fabric slightly and can shift a piece off-grain before the first cut is made.
When cutting multiple layers, check that all layers are aligned grain-to-grain before cutting. A layer that has slid sideways during folding creates pieces on slightly different grains, and they won't match when sewn together.
Grain isn't a detail you can come back to fix. It's decided at the cutting table, and everything built after that point either works with it or fights it. Taking an extra two minutes to check the grain line arrow before cutting is genuinely one of the highest-return habits in sewing.