
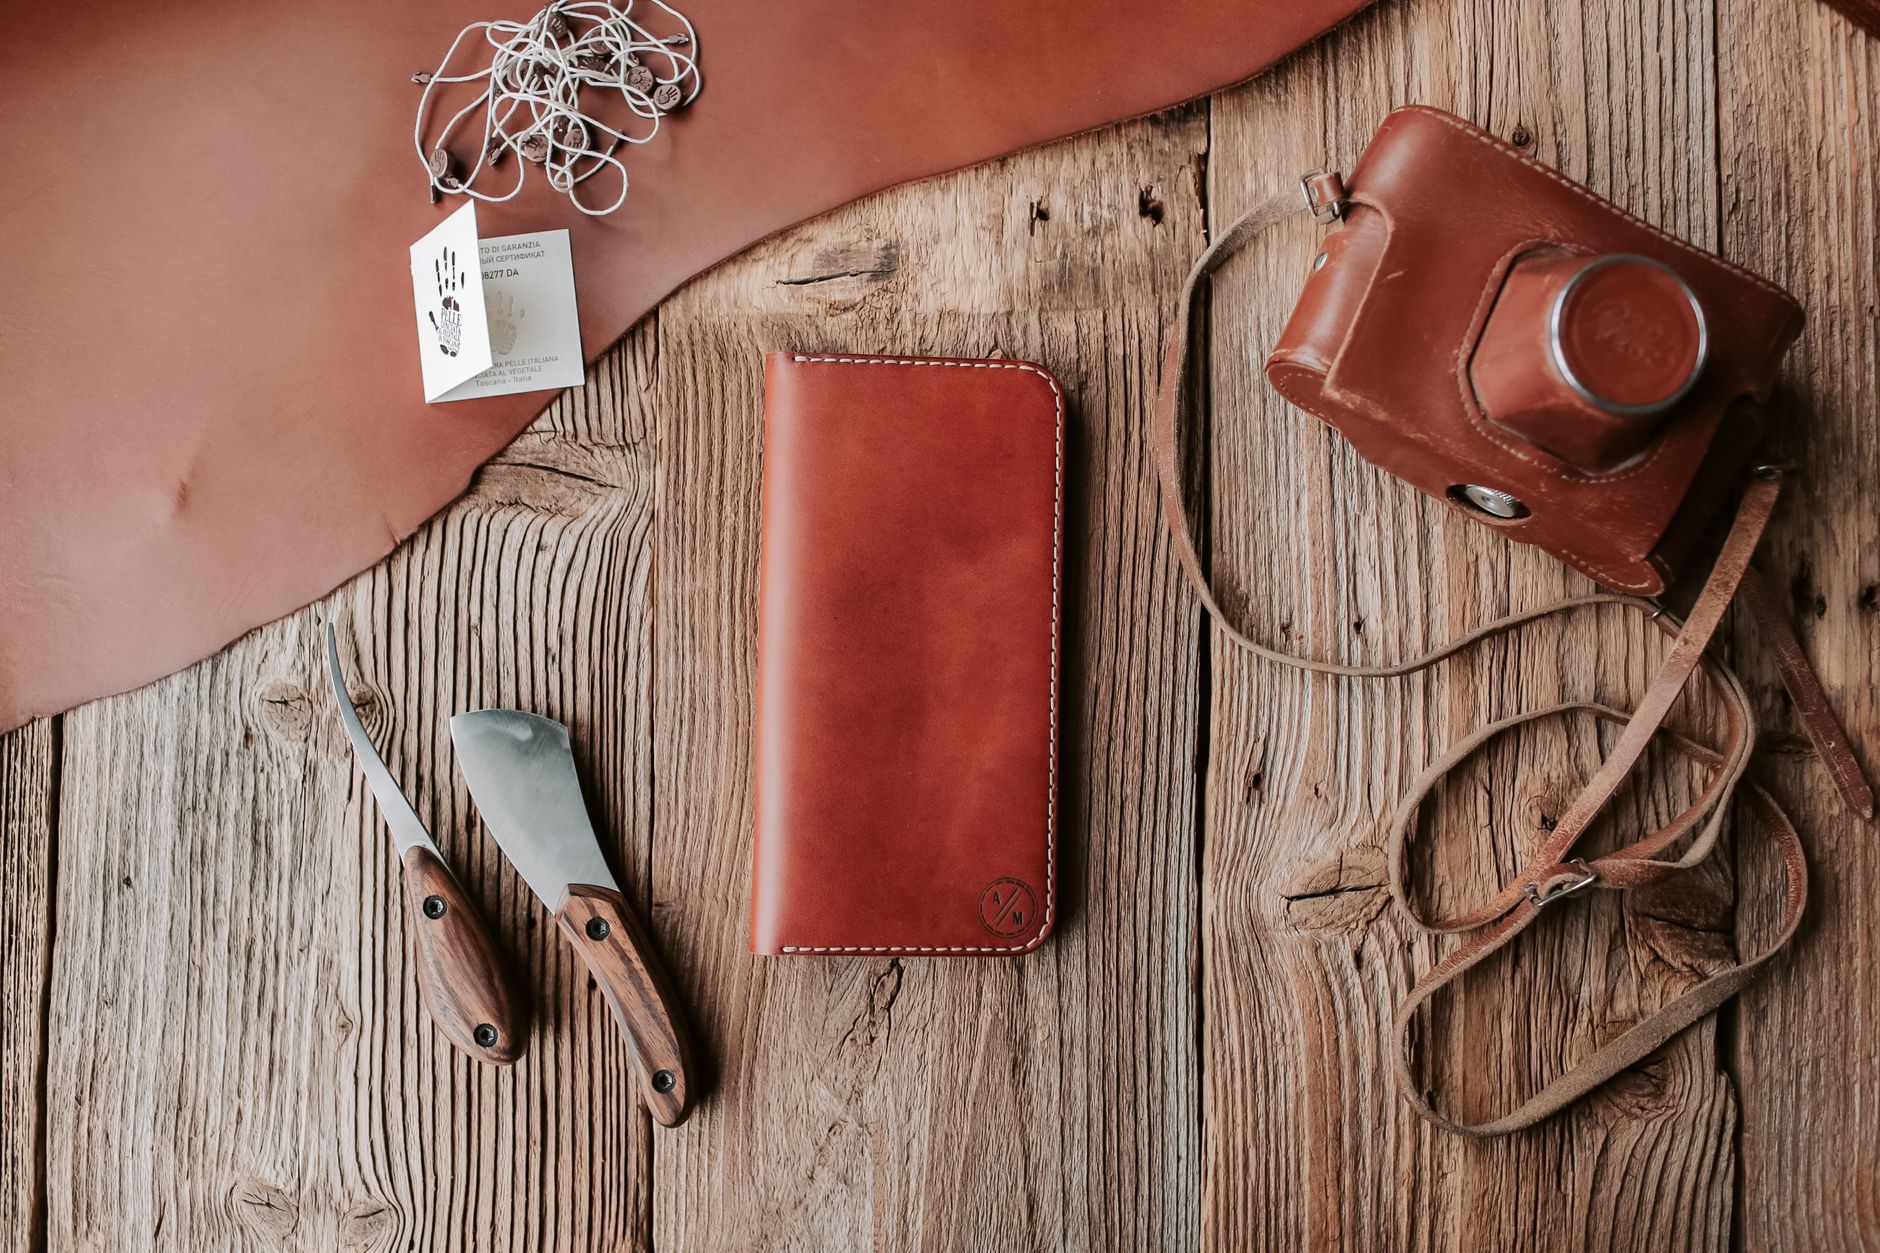
When someone lands on your online shop, your photos do the selling before a single word is read. For handmade sellers, product photography is often the difference between a sale and a scroll past. The good news is that you don't need a professional studio or a high-end camera to shoot images that convert. What you need is an understanding of light, styling, and consistency, and the willingness to practise until it clicks.
Why product photography matters more than you think
Online shoppers can't touch your work, feel the weight of a tote bag, or run their fingers across a printed fabric panel. Your photos have to do all of that sensory work. Blurry, dark, or cluttered images create doubt. Sharp, well-lit, honest images build trust. If you're putting time into writing product descriptions that actually sell, pairing those words with strong photos compounds the effect significantly. The two work together: photos earn the click, descriptions close the sale.
The gear you actually need
Start with what you have. A modern smartphone with a decent camera is more than capable of producing shop-ready images. The camera on most recent iPhones and Android flagships outperforms what professional photographers were working with only a decade ago. Before you invest in anything else, learn how to use what's already in your pocket.
That said, a few low-cost additions make a real difference:
- A small tripod or phone stand. Camera shake is the enemy of sharp images. Even a budget tripod eliminates it entirely.
- A white foam core board. Use it as a reflector to bounce natural light back onto shadowed areas of your product. A two-dollar sheet from a newsagency works perfectly.
- A clean, neutral backdrop. White poster board, a plain wooden table, or a length of clean fabric are all solid options. Avoid busy backgrounds that compete with the product.
- A lint roller. Fabric and handmade textile products pick up dust and fluff instantly. Roll everything before you shoot.
Lighting: the single biggest factor
Nothing affects image quality more than light. Natural light from a large window is your best friend. Set up near a north-facing window (in Australia, north-facing rooms receive the most consistent soft daylight) and shoot during the middle of the day when the light is bright but not direct. Direct sunlight creates harsh shadows; diffused light from a slightly overcast sky or through a sheer curtain is ideal.
Avoid mixing light sources. If you're shooting near a window, turn off the overhead lights. Warm indoor bulbs and cool daylight create competing colour casts that are difficult to fix in editing and make your product look different from what it actually is. Consistency matters too: if you always shoot in the same spot at the same time of day, your entire product range will have a cohesive, professional look across your shop.
Composition and angles
Most products benefit from three core shots: a clean flat lay showing the whole item, a three-quarter angle showing depth and dimension, and a close-up showing texture and detail. For fabric-based handmade products, that detail shot is especially important. Buyers want to see the print quality, the stitching, the finish. A tight macro shot of a corner seam or a printed motif tells them far more about your craftsmanship than any written description can.
For flat lays, use the rule of thirds. Place your product slightly off-centre and use simple props (a spool of thread, a few flowers, a small plant) to fill negative space without overwhelming the hero item. Props should complement, not compete. If the prop is more interesting than the product, remove it.
Always shoot at the product's level, not looking steeply down on it. A bag or pouch photographed at a slight angle looks three-dimensional and appealing. The same item photographed from directly above can look flat and uninviting.
Styling for your brand
Your photos should feel like a cohesive collection, not a random assortment of snapshots. Choose a colour palette for your backgrounds and props and stick to it. If you sell children's items in bright primary colours, a white or natural wood background lets those colours sing. If your work skews more bohemian or earthy, linen textures and dried botanicals reinforce that aesthetic. The styling you develop becomes part of your brand identity, and repeat customers will start to recognise your visual language at a glance.
Lifestyle shots, where your product is shown in use or in context, are powerful for social media and your shop banner. A sewn pencil case photographed open on a desk alongside a notebook and a few pens tells a story. A drawstring bag hanging on a door hook suggests how it fits into someone's daily life. These contextual images help browsers picture your product in their own world, which is one of the most effective psychological nudges towards a purchase.
Editing without overdoing it
Light editing can take a good photo and make it great. Heavy editing takes a good photo and makes it misleading. The goal is accuracy: your product should look in person exactly as it does in your images. Overly brightened whites, artificially saturated colours, and heavy-handed filters all create expectations that real-world delivery can't meet, and that leads to disappointment and refund requests.
Free apps like Snapseed or Lightroom Mobile give you enough control to adjust exposure, contrast, and white balance without going overboard. For most handmade sellers, a small brightness lift and a subtle sharpening pass is all that's needed. Batch-edit your photos from a single session so they all look consistent before uploading.
Setting up a consistent workflow
The biggest barrier to good product photography isn't skill, it's inconsistency. Sellers who photograph products in different rooms, at different times of day, on different surfaces end up with a shop that looks disjointed even if the individual photos are decent. Set up a dedicated "photo corner" in your home. It doesn't need to be permanent, but knowing exactly where your backdrop goes, where your reflector sits, and what time the light is best means you can shoot quickly and confidently every time a new product is ready.
If you're building out your shop alongside a broader business strategy, strong photography connects naturally to everything else you're doing. Whether you're working on marketing strategies for your small craft business or building an audience on social media, every photo you share is either reinforcing or undermining the impression your brand makes. A consistent, polished visual identity is one of the fastest ways to signal professionalism to buyers who don't know you yet.
A few common mistakes to avoid
- Too many products in one shot. Each listing image should feature one product clearly. Group shots confuse buyers about what exactly they're purchasing.
- Distracting backgrounds. Carpet floors, cluttered tables, and laundry-in-the-background shots undermine even the most beautiful handmade item.
- Not showing scale. Include at least one image that shows scale, either using a common object for reference or placing the product in a lifestyle context. A bag that looks enormous in the photo but holds barely a phone is a conversion killer.
- Inconsistent orientation. Decide whether you'll shoot in landscape or portrait for your main listing images and stick to it. Etsy and most platforms display thumbnails in a grid, so mixed orientations look messy.
- Skipping the detail shot. Especially relevant if you're using custom printed fabrics in your work. Buyers choosing between two similar bags will often choose the one that clearly shows print quality. Don't leave that decision to chance.
Product photography is a skill that improves quickly with practice. Your first set of images won't be your best, and that's fine. The important thing is to start, stay consistent, and keep refining. Over time, you'll develop an eye for what works, a streamlined setup, and a shop full of images that show your work the way it deserves to be seen.