
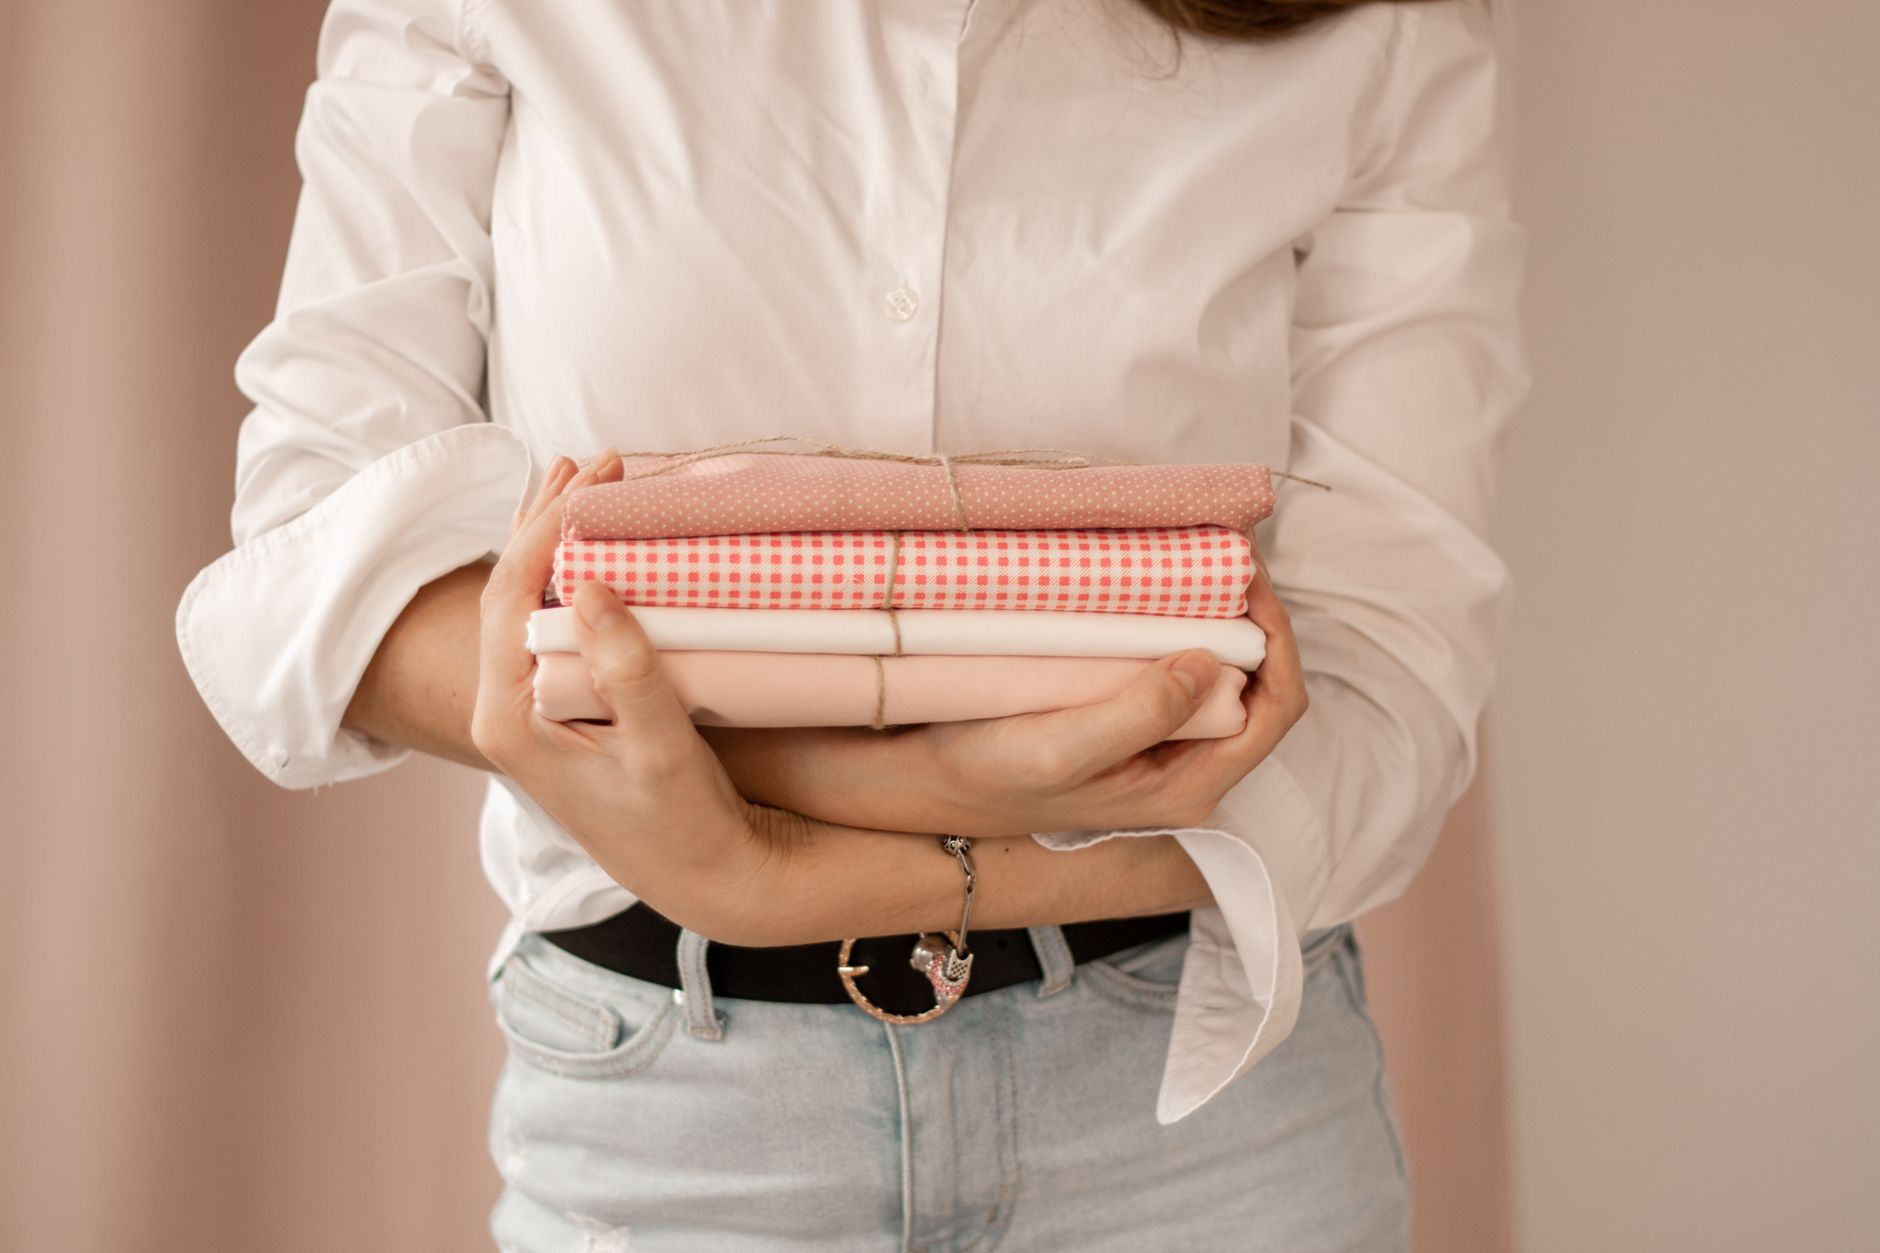
A fabric book sleeve is one of those projects that looks impressive but comes together in under an hour. It protects paperbacks, hardcovers, kindles, and journals from scratches, spills, and the general chaos of a bag. It uses very little fabric, costs almost nothing to make, and lands well as a gift or a market stall item. If you've already sewn a tote bag or a zipper pouch, you have every skill you need to make one.
What you'll need
Before you cut anything, gather your materials. For a standard paperback sleeve (fits most A5 or trade paperback novels), you'll need:
- Two pieces of outer fabric, each 34 cm x 26 cm
- Two pieces of lining fabric, same dimensions
- One piece of thin wadding or batting, 34 cm x 26 cm (optional, for padding)
- Thread to match your outer fabric
- Pins or fabric clips
- An iron
For the outer fabric, a woven cotton or a digital-printed quilting cotton works beautifully. It holds its shape, takes a crisp seam, and shows off a print without distorting. A busy floral or a bold geometric print makes a basic sleeve look like it took twice the effort. If you're unsure which fabric base to order, certain fabrics hold digital prints far better than others, and quilting cotton consistently sits at the top of that list.
Cutting and measuring
Measure your book first. Don't guess. Open it flat to its widest point, add 3 cm to the width for seam allowance, and add 4 cm to the height. That gives you the dimensions for each panel. The measurements above (34 x 26 cm) suit most paperbacks, but a chunky hardcover will need more width.
Cut two outer panels and two lining panels to your measurements. If you're adding wadding, cut one piece at the same size. Precise cutting saves you from wrestling with wonky seams later. A rotary cutter and a self-healing mat make this faster, but scissors work fine.
How to sew it together
This sleeve uses a simple envelope construction. No zip required. Here's the order of operations.
Step 1. If you're using wadding, layer it on the wrong side of one outer panel and baste it in place around the edges with a scant 0.5 cm seam. This is your front panel.
Step 2. Place your two lining panels right sides together. Sew along both short ends (the top and bottom of the sleeve) with a 1.5 cm seam allowance. Press the seams open.
Step 3. Place your two outer panels right sides together. Sew along the top and bottom in the same way. Press seams open. Turn the outer shell right side out.
Step 4. Slip the lining (still wrong side out) over the outer shell so the right sides face each other. Line up the raw edges along both long sides. Pin well.
Step 5. Sew down both long sides with a 1.5 cm seam allowance. Leave a 10 cm gap on one side for turning.
Step 6. Trim the corners at 45 degrees to reduce bulk, then turn the whole thing through the gap. Poke the corners out gently with a blunt tool. Don't use scissors.
Step 7. Press flat, tucking in the raw edges at the gap. Top-stitch all the way around the sleeve at 3 mm from the edge. This closes the gap and gives the sleeve a clean, professional finish.
Slide your book in. Done.
Choosing the right fabric for a book sleeve
The outer fabric carries all the visual weight of the sleeve, so the print matters. Book sleeves sell best when they feel personal: a print that suits the reader's taste, not just any random pattern. Readers who love fantasy tend to reach for deep, moody florals or celestial designs. Romance readers often want pinks, creams, and illustrated botanicals. Thriller readers sometimes prefer something graphic and geometric.
If you're sewing sleeves to sell, it's worth looking at how bold, joyful prints are driving purchasing decisions right now. A sleeve in a saturated, standout print sells faster at a market stall than one in muted, safe tones, even if the construction is identical.
For the lining, choose something smooth and light. A cotton lawn or a basic quilting cotton in a contrasting colour gives the inside a polished look when the sleeve is opened. Avoid anything too thick or textured on the inside, since it can make sliding the book in and out feel stiff.
Sizing variations worth knowing
Once you've made one sleeve, it's easy to adjust the template for other uses. A Kindle Paperwhite (2025 model) fits a sleeve cut to roughly 20 cm x 15 cm. A standard A5 journal or planner needs about 28 cm x 22 cm. A large hardcover can push to 40 cm x 30 cm. Write your working measurements on a piece of card and keep it with your sewing supplies so you don't have to remeasure every time.
Sleeves for kindles and tablets are worth padding more heavily than book sleeves, since the devices are more fragile. Double the wadding or switch to a light foam interfacing for those versions.
Making book sleeves to sell
Book sleeves are a strong market stall product. They're compact, easy to display (hang them on a rack or stack them by genre/colour), and sit in a comfortable impulse-buy price range. A fabric book sleeve typically takes 30 to 45 minutes to sew once you're comfortable with the steps, which makes it viable to batch-produce in an afternoon.
If you're building up stock for a stall or an online shop, consider ordering a preorder run of custom digital-printed fabric so your sleeves carry an exclusive print that no one else is selling. Fabric by TrishaMakes offers digital printed fabric preorders with air freight delivery, so your fabric arrives quickly without a long wait. Pairing an exclusive print with a tight, professional finish is what gets a book sleeve from "nice" to "sold".
Price your sleeves by accounting for the full cost of materials (outer fabric, lining, wadding, thread), your time at a fair hourly rate, and your stall or platform fees. A sleeve that takes 40 minutes and uses fabric costing $4 in materials should not be priced at $8. If you're not sure where to start with pricing, the same principles that apply to the most profitable sewing projects to sell online apply here: material cost times three is a reasonable floor, not a ceiling.
A few things that go wrong (and how to avoid them)
The most common mistake is cutting panels slightly off-square. Even 2 mm out will make the finished sleeve sit crooked. Use a quilting ruler and a rotary cutter rather than relying on the fabric grain alone.
Thick outer fabric combined with thick lining creates a sleeve that's stiff and hard to turn. Keep the total fabric weight light to medium on both layers. If you want the sleeve to feel substantial, add wadding rather than choosing heavier fabric.
Skipping the pressing step between each stage is the fastest way to end up with a wonky finish. Press every seam before moving to the next step. It takes 90 seconds and saves a lot of unpicking.
Finally, leave a large enough turning gap. A 10 cm gap feels too big until you try to turn a double-layered sleeve through a 5 cm gap. Go bigger than you think you need, and the top-stitching at the end closes it cleanly anyway.