
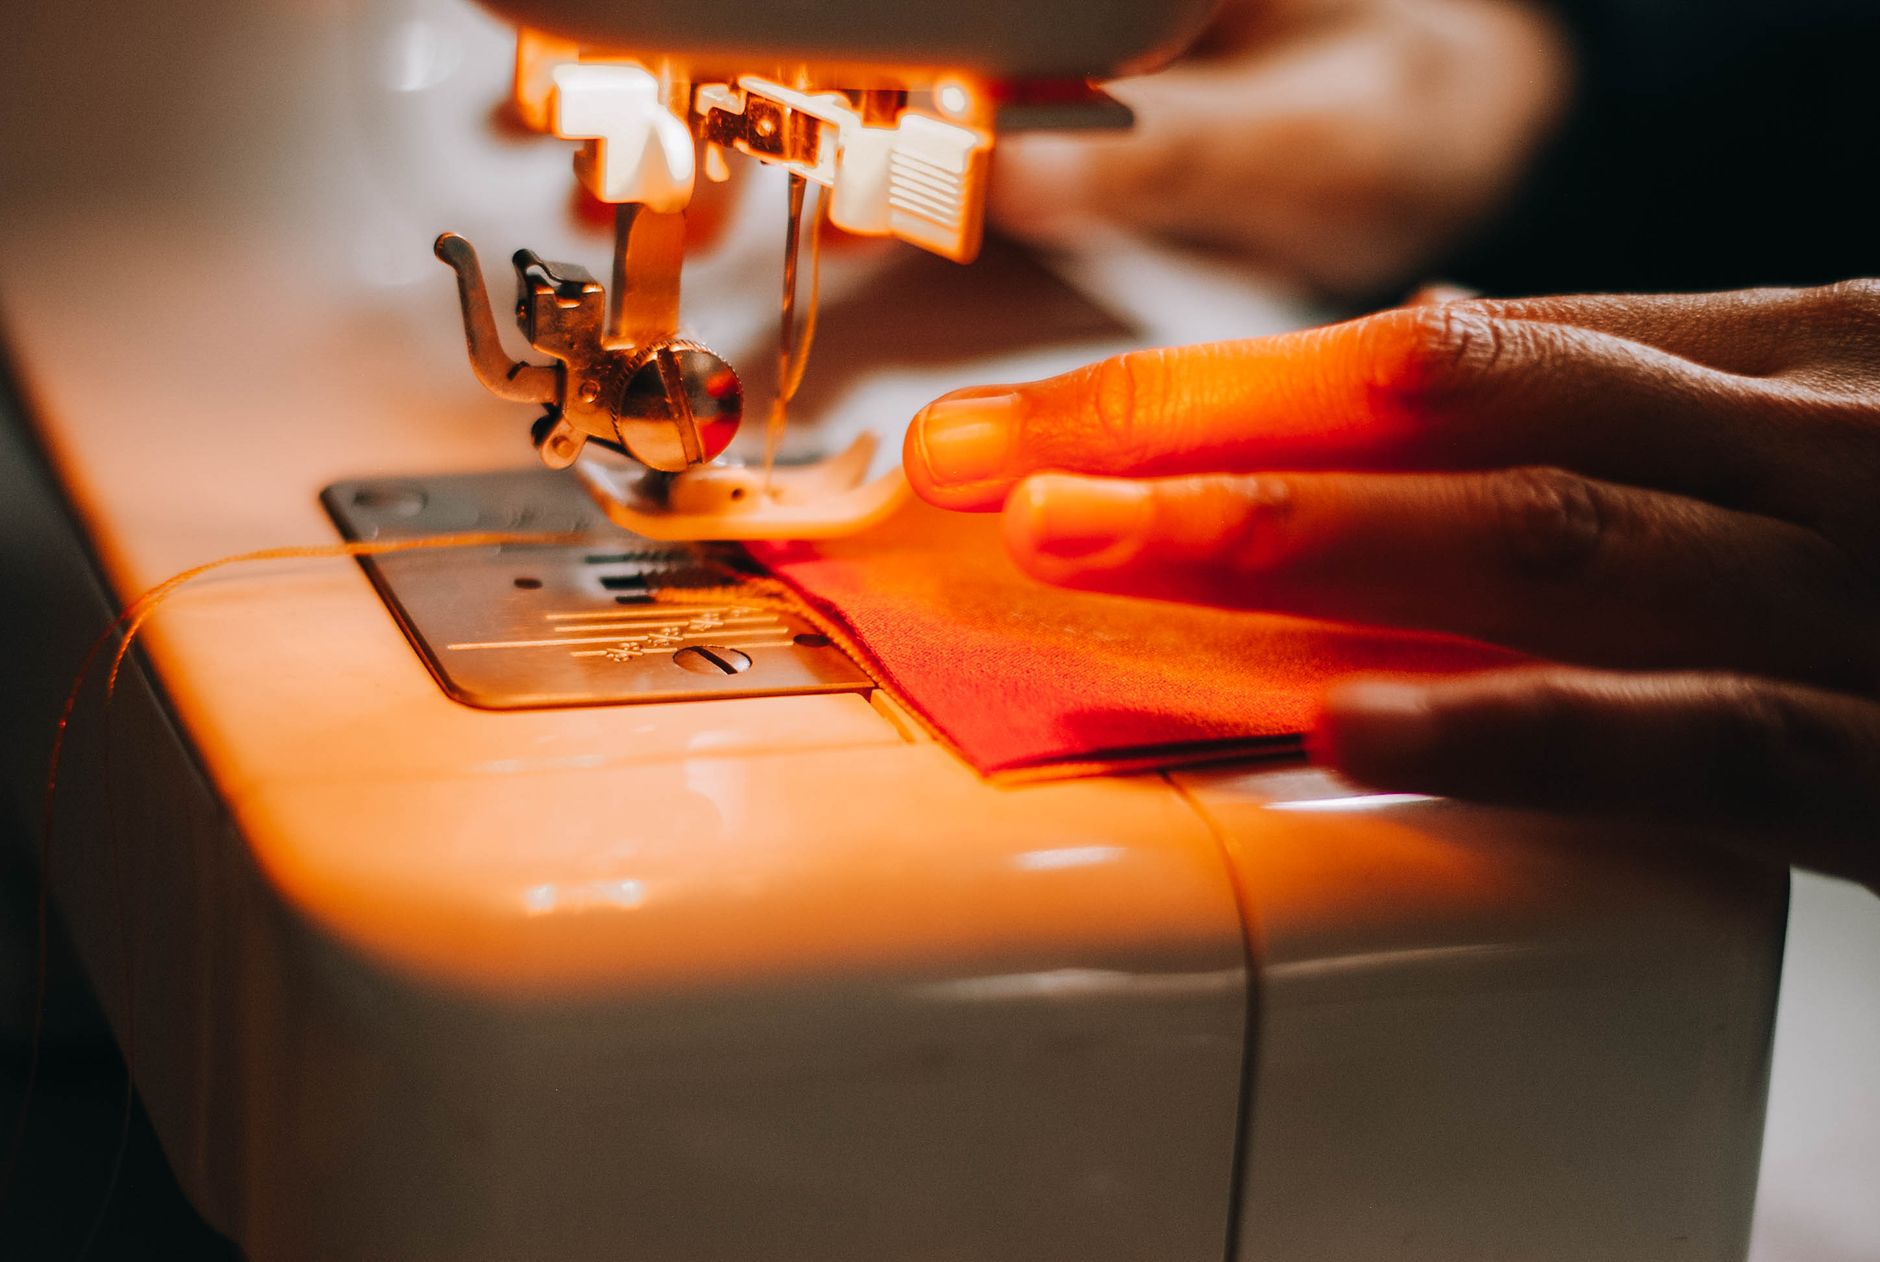
A fabric cable tidy is a surprisingly satisfying project to sew. It's small, it uses up scrap fabric beautifully, and it solves a genuine problem: the tangle of phone chargers, laptop cables, and earphone cords that accumulates on every desk and bedside table. This project suits beginners and experienced sewists alike, takes under an hour to complete, and makes a brilliant gift or market stall item.
What you'll need
The materials list is short. You need two pieces of fabric cut to roughly 20 cm × 10 cm each, one for the outer shell and one for the lining. A firmly woven cotton or a digital printed cotton quilting fabric works well here. Avoid stretch knits for this project because you want the finished piece to hold its shape. You'll also need a button (2 cm or thereabouts), a short piece of elastic about 1 cm wide, and matching thread. That's it.
For the outer shell, this is a great chance to use a bold or personalised print. Fabric by TrishaMakes carries a range of digital printed cotton bases that work perfectly. If you want to understand how different fabrics handle this kind of small structured project, the guide to choosing the right fabric weight for your project covers exactly what to look for before you cut.
Cutting and preparing your pieces
Cut your outer fabric and lining to the same size: 20 cm × 10 cm. If you want a longer cable tidy that can wrap around a bulkier bundle, cut to 25 cm × 12 cm instead. Press both pieces flat before you start sewing. Wrinkles baked in at this stage will make the finished piece look sloppy.
Cut your elastic to 6 cm. This becomes the loop that holds the roll closed. Fold it in half and pin it to the centre of one short end of the outer fabric, with the loop pointing inward and the raw ends sitting just inside the seam allowance. Stitch it in place at the seam line, about 0.8 cm from the edge.
Sewing the cable tidy
Place your outer and lining pieces right sides together, with the elastic loop sandwiched between them. Pin around all four sides. Stitch with a 1 cm seam allowance, leaving a 5 cm gap along one long edge so you can turn the piece right side out. Trim the corners at a 45-degree angle. This step matters: untrimmed corners bunch up and make the finished piece look thick and amateur.
Turn the piece right side out through the gap. Use a blunt tool (a chopstick works well) to push the corners out cleanly. Press the whole piece flat, folding the gap's raw edges in so they're flush with the seam. Topstitch all the way around the outer edge with a 2 mm seam allowance. This closes the gap and gives the cable tidy a crisp, professional finish.
Stitch your button onto the opposite short end from the elastic loop, centred and about 1.5 cm from the edge. The elastic loop slips over the button to keep the roll closed once the cables are wrapped inside.
How to use it
Lay the cable tidy flat, place your cord across one end, and roll everything up together. Slip the elastic loop over the button. Done. The cable stays coiled neatly and the whole thing can be tossed into a bag without unravelling. It works just as well for earphones, USB cables, or a short phone charger.
If you're making a batch to sell, this project sits in the same sweet spot as a fabric pencil case: low materials cost, fast to produce, and appealing to a wide audience. A set of three in coordinating prints sells well at markets and requires almost no additional effort beyond cutting more pieces from the same fabric run.
Variations worth trying
Once you've made the basic version, there are a few easy upgrades. Adding a small internal pocket (a strip of fabric stitched to the lining before assembly) lets you tuck a USB stick or a small adaptor alongside the cable. You can also use a magnetic snap instead of a button and elastic for a slightly more polished result. For a gift set, sew three cable tidies in graduated sizes: 20 cm, 25 cm, and 30 cm, to handle different cable lengths. Wrap them together with a length of ribbon and you have a genuinely useful, thoughtful present.
If you enjoy small functional sewing projects like this one, the beginner's guide to sewing a zipper pouch covers a similarly quick build with a bit more interior space. Both projects are well worth adding to your regular rotation, whether you're sewing for yourself, for gifts, or for sale.
A note on fabric choice
Because a cable tidy gets handled often and rolled up repeatedly, the outer fabric needs to be durable. A quilting cotton with a tight weave holds up well. Digital printed cotton from Fabric by TrishaMakes is a strong choice because the print stays vibrant through regular use and the base fabric doesn't pill or stretch out of shape. Avoid anything too thin or loosely woven: it won't survive being rolled and unrolled dozens of times without fraying at the seam lines.
The lining is less critical for durability, but choosing a plain or tonal fabric there helps the outer print read clearly and keeps the overall look clean. White or natural lining cotton is a reliable go-to that works with almost any outer print.