
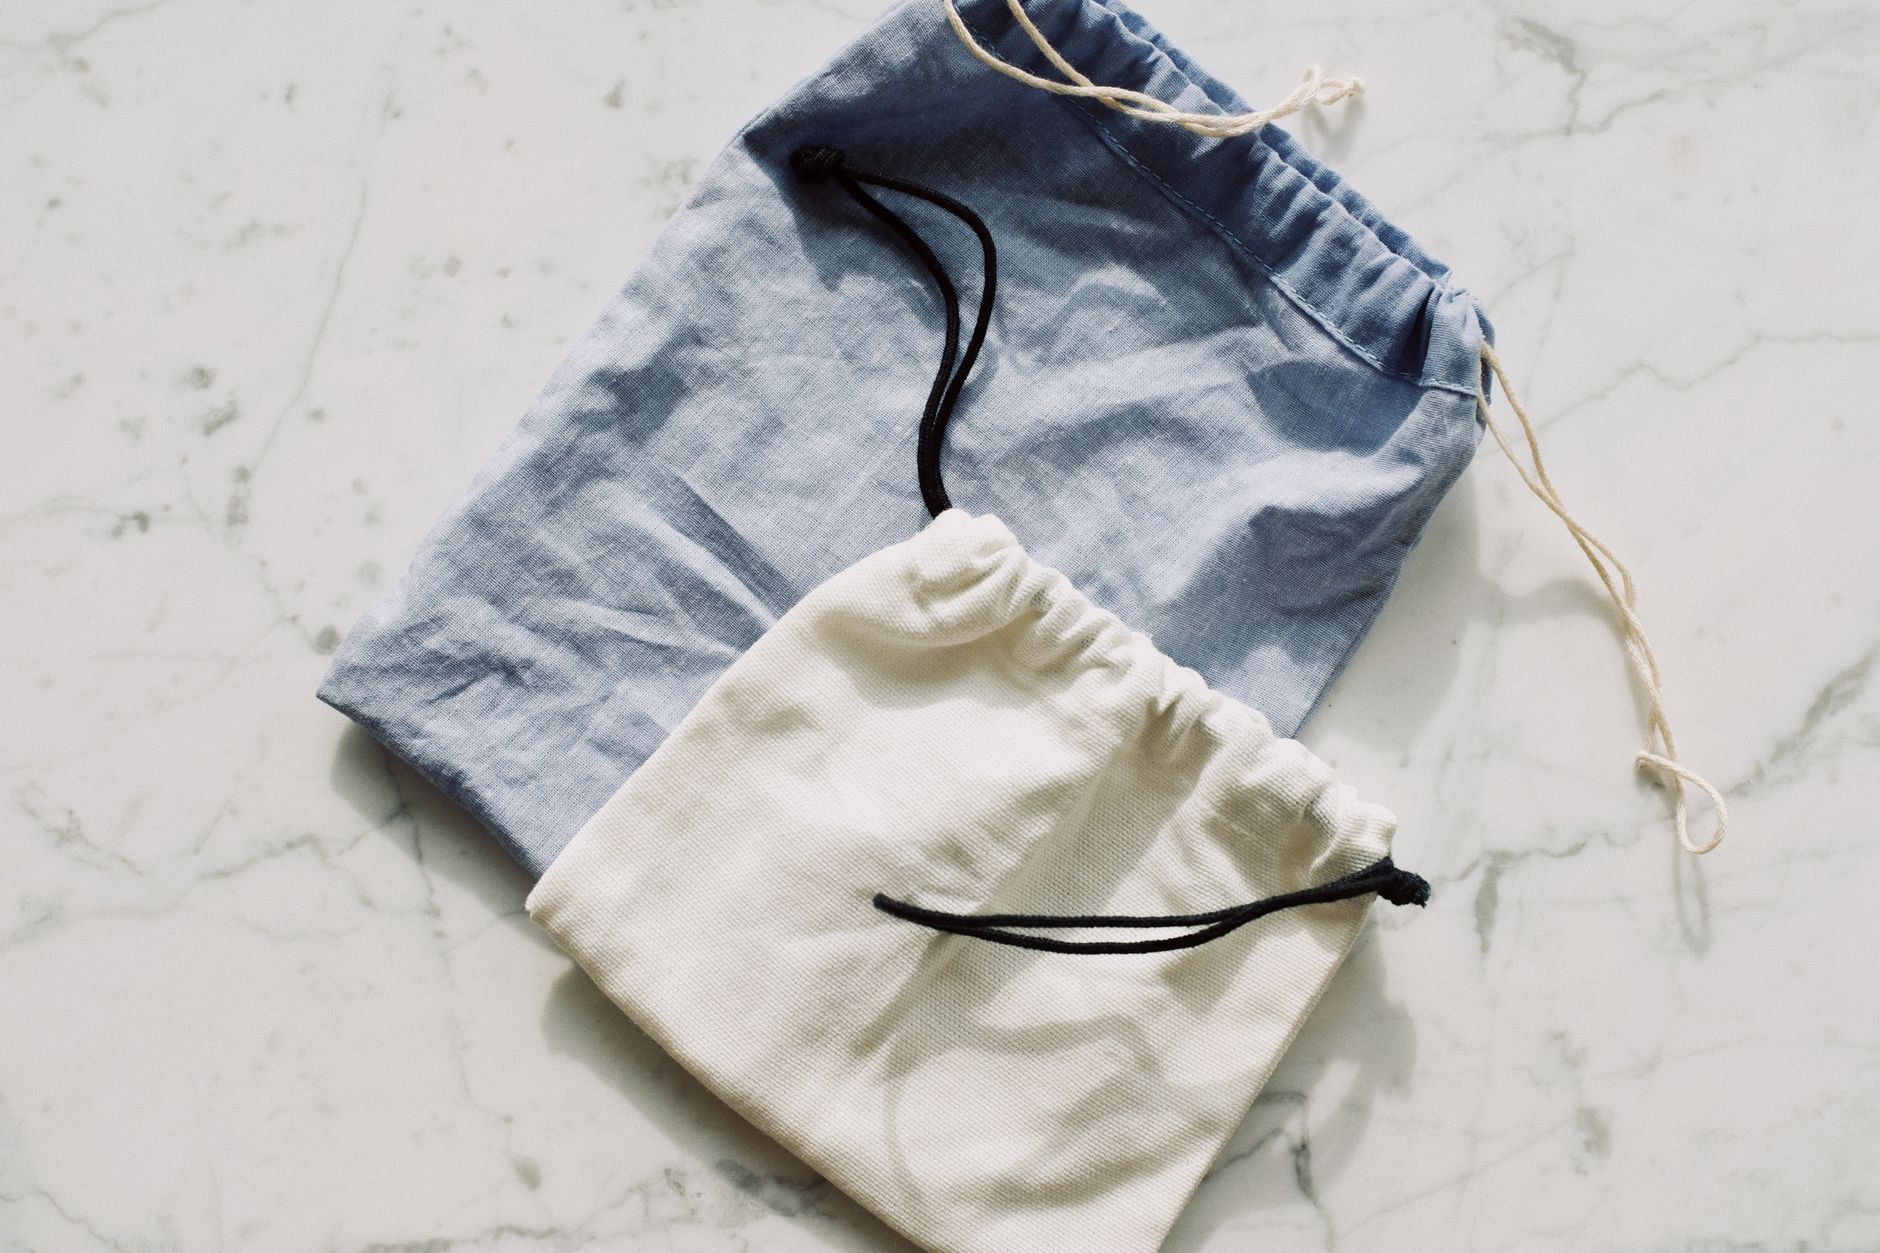
A fabric gift bag is one of the most thoughtful things you can sew. It replaces single-use paper and tissue wrapping, takes less than an hour to complete, and uses up cuts of printed fabric that are too pretty to throw away. The recipient gets two gifts: the one inside and the bag itself.
What you'll need
The materials list is genuinely short. You'll need an outer fabric (at least 30 cm x 70 cm for a medium bag), a lining fabric of the same dimensions, a length of ribbon or cord roughly 80 cm long, and basic sewing tools. A rotary cutter and quilting ruler make the cutting precise, but scissors work perfectly well. If you're choosing a print, consider how the design will sit when the bag is finished: bold, centred motifs look best on larger bags, while smaller all-over prints suit a range of sizes.
For the outer fabric, digital print fabrics that hold colour well give the bag a polished, almost professional look, especially if you're making it as a gift rather than for your own use.
Cutting and preparing your fabric
Cut both your outer and lining fabric to the same size. For a medium bag (approximately 20 cm wide x 25 cm tall when finished), cut rectangles measuring 22 cm x 54 cm. This accounts for seam allowances and the channel at the top that the drawstring threads through.
Pre-wash both fabrics before cutting. This step matters more than most sewists realise. Fabric can shrink unevenly on first wash, and a bag that distorts after its first use isn't worth gifting. For printed fabrics in particular, a cold wash before sewing sets the dye and prevents bleeding later. The full method is covered in detail in this guide on how to pre-treat fabric before sewing.
Sewing the bag together
Fold your outer fabric in half with right sides together, matching the short edges. Sew down both long sides using a 1 cm seam allowance, but stop 5 cm from the top on each side. Those open sections become the channel openings for your drawstring. Press the seams open.
Do the same with your lining fabric. Press those seams open too. Now tuck the lining inside the outer bag, right sides together, so the top raw edges are aligned. Pin around the top edge and sew all the way around with a 1 cm seam allowance, leaving a turning gap of about 8 cm on one side.
Turn the whole thing right side out through the gap. Push the lining down into the bag and press the top edge flat. Topstitch around the top edge, 2 mm from the fold, to keep everything neat. Then sew two parallel rows of stitching around the bag to form the drawstring channel: one row at 2.5 cm from the top, and another at 4 cm from the top.
Adding the drawstring
Use a bodkin or a safety pin to thread your ribbon or cord through the channel. Start on one side, feed it all the way around, and bring both ends out through the same opening. Knot the ends or add small wooden beads to stop them pulling back through. Repeat from the other opening with a second length of cord so you get the classic two-pull drawstring closure.
Satin ribbon gives a luxurious finish. Cotton cord looks relaxed and earthy. A thin strip of self-fabric (cut on the bias so it has a little give) is the most cohesive option if you want the bag to look like a complete design statement.
Sizing variations and when to use them
The cutting dimensions above scale easily. A small bag for jewellery or a gift card needs fabric cut to about 15 cm x 40 cm. A large bag to hold a bottle of wine or a folded garment needs pieces around 30 cm x 80 cm. The construction steps don't change, only the proportions.
It's worth sewing a small batch at once rather than making them one at a time. Cutting 6 bags in a single session and chain-sewing through each step takes a fraction of the time compared to six individual makes. If you're sewing for markets or selling online, this kind of batching pays off fast.
Finishing and gifting
Once the drawstring is threaded, give the bag a final press. The lining will keep its shape and stop the outer fabric from bunching. If you've used a fabric with a directional print, check that the design reads correctly from the front before you commit to the final seam placement at the cutting stage.
Fabric gift bags are excellent sellers at market stalls and online shops, particularly around Christmas and Mother's Day. They photograph well, pack flat, and buyers immediately understand the value: a bag that replaces at least a dozen paper ones over its life. Pair them with a coordinating fabric tag made from a fabric scrap and a small eyelet, and you've got a set worth charging a real price for.
The best part is the fabric choice itself. A well-chosen print turns a simple bag into something the recipient genuinely wants to display rather than tuck away. That's the whole point of sewing with a fabric you love.