
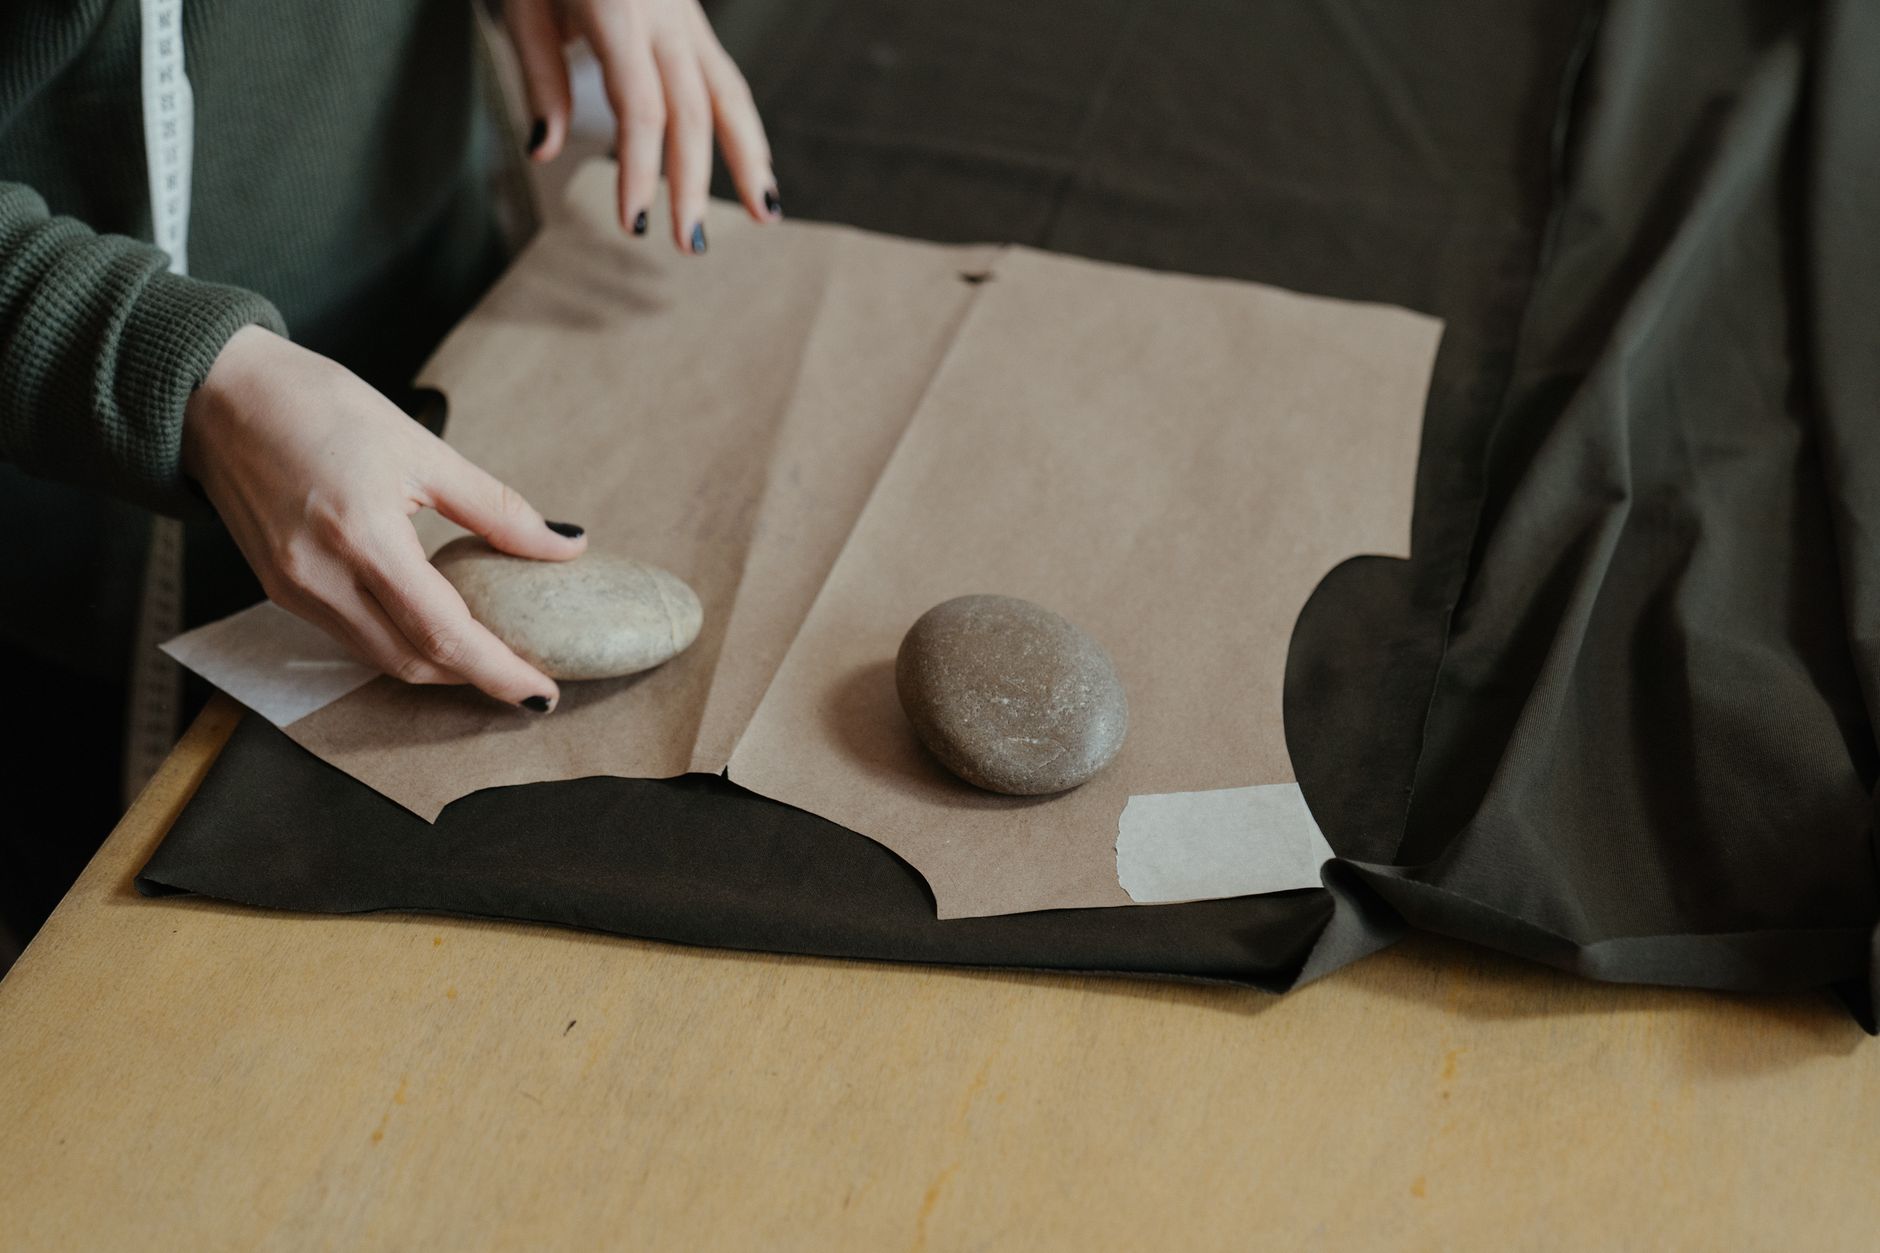
Directional fabric prints are one of the most common causes of a finished project that looks subtly, frustratingly wrong. Florals facing sideways, animals all pointing left, geometric rows that should read horizontally but end up running diagonally: the cut happened, the sewing happened, and something still feels off. Catching a directional print before you cut costs nothing. Missing it can cost you half a metre and your afternoon.
What a directional fabric print actually is
A directional print has a clear "up" and "down" built into the design. It reads correctly from one orientation only. Tip it 180 degrees and the print reads upside-down. Tip it 90 degrees and it reads sideways. That single constraint changes how you plan every cut.
There are three types worth knowing. A one-way directional runs in a single direction across the whole cloth: think cartoon characters standing upright, or raindrops falling downward. A two-way directional reads the same from both ends but not from the sides: a simple horizontal stripe is a common example. A four-way or non-directional print reads correctly from every angle, which is what most experienced sewists hope for when they're cutting a complex multi-piece pattern.
The distinction matters most when a pattern piece needs to be flipped or rotated to fit on the fabric. With a non-directional print, flipping a bodice piece is no problem. With a one-way directional, that flipped piece will have its print upside-down in the finished garment.
How to identify a directional print before you buy or cut
Hold the fabric upright against a wall or lay it flat on a table. Stand back. Look for a clear sense of orientation: does anything feel like it should be the "top"? Next, rotate the fabric 90 degrees. Does the print still feel correct, or does it now look sideways? Rotate another 90 degrees and check again.
If the answer is "it looks different but I can't decide if it's wrong," you've likely found a directional print. Trust that instinct. Vague or abstract prints sometimes feel directional even when they're not, but it costs nothing to treat them as directional at the cutting table. The extra planning is far cheaper than recutting.
When ordering digital printed fabric online, check the preview image carefully. Fabric by TrishaMakes shows fabric previews in their correct orientation, which is a useful reference point. If you've received the fabric but you're unsure, fold back a corner and compare it to the full roll. A clear orientation difference between the folded and flat sections confirms you're working with a directional.
Cutting strategies for directional prints
The core rule is simple: all pattern pieces must face the same direction on a one-way directional. No flipping, no rotating for layout convenience. This creates two practical challenges: fabric waste and layout efficiency.
Layout efficiency drops because you can't mirror pieces. A standard bodice front with a left and right half normally allows you to flip one piece to share a fold line. With a directional print, you either cut two separate pieces (doubling the fabric needed for that section) or cut on the fold carefully, ensuring the print still reads correctly across the seam. Neither is impossible. Both need forethought.
Buy more fabric than the pattern calls for. A good rule: add 20 to 30 percent extra yardage for a one-way directional print when working with a garment pattern with many pieces. For home décor projects like cushion covers or tote bags, the additional amount is smaller because the piece count is lower, but the same principle applies.
Before cutting anything, lay all pattern pieces on the fabric simultaneously and check their orientation as a group. It's tempting to cut as you go. Don't. A single piece cut in the wrong direction after others are already cut is a difficult problem to solve.
Pattern matching and seam alignment
Directional prints introduce a secondary challenge: where does each motif land at the seams? A print that features large repeated motifs (sunflowers, stars, animal faces) will look best when the motifs are balanced across seam lines. This is pattern matching, and it requires even more extra fabric than simple directional alignment.
Mark your pattern pieces with a fabric marker before cutting to indicate where the dominant motif falls. Then position each piece so the motif hits at the same point on all panels. For a tote bag, that might mean centering a large floral on the front panel deliberately, then accepting some waste on either side. For a garment with side seams, it means checking that the stripe or row of motifs runs at the same height on both the front and back pieces before a single cut is made.
Understanding fabric grain lines is essential here. A directional print that's cut slightly off-grain will never hang correctly, no matter how careful the pattern matching was. Both concerns, grain and direction, need to be resolved at the same time.
Directional prints and digital fabric design
When you're designing or choosing a custom digital print, the question of directionality is worth raising before the fabric goes to print. A repeating pattern built on a half-drop repeat is often one-way directional. A straight repeat can be designed as non-directional, which is almost always easier for the person cutting. If you're commissioning a custom design and the fabric is going to be used for garments with complex pattern pieces, ask for a non-directional repeat or a two-way design.
This is particularly relevant for fabric prints designed around trends: a botanical design with stems all growing upward is inherently directional, while a scattered leaf print with leaves at random angles can be made non-directional quite easily. The range of botanical print styles available in custom fabric covers both, and knowing which type you're ordering saves considerable cutting time.
Common mistakes and how to avoid them
The most common mistake is cutting the first few pieces before fully planning the layout. This is especially easy to do with large fabric cuts, where the instinct is to get started quickly. Resist it. Full layout first, cut second.
The second mistake is failing to account for directionality when purchasing fabric for a specific project. Checking the print orientation should happen at the same time as checking the GSM, fabric base, and repeat size. Treat it as part of the standard evaluation, not an afterthought.
Third: folding a directional fabric for cutting as though it were non-directional. If you fold the fabric right sides together along the length before cutting, one layer will be facing up and one will be facing down. Both layers look the same on the fold, but the bottom layer's print direction is now reversed. Cut two pieces from that fold and you've got a mirror pair where both should face the same way. Either cut layers separately, or fold right side to right side and mark the underneath piece before cutting.
A little time spent understanding fabric bias and grain alongside directional planning goes a long way. The sewists who consistently produce professional-looking results aren't cutting faster. They're planning more carefully before the scissors ever open.
A quick checklist before you cut
- Confirm whether the print is one-way, two-way, or non-directional.
- Lay all pattern pieces on the fabric before cutting any of them.
- Check that every piece faces the correct direction, including any that would normally be flipped for layout efficiency.
- Mark the "top" of each pattern piece with a small notch or tailor's chalk before lifting it from the fabric.
- If pattern matching is required, mark the dominant motif position on each piece before cutting.
Directional prints are not a problem. They're a design feature that rewards careful cutting. Get the planning right and the print does exactly what it's supposed to do: run the same way through every seam, every panel, and every finished piece.