
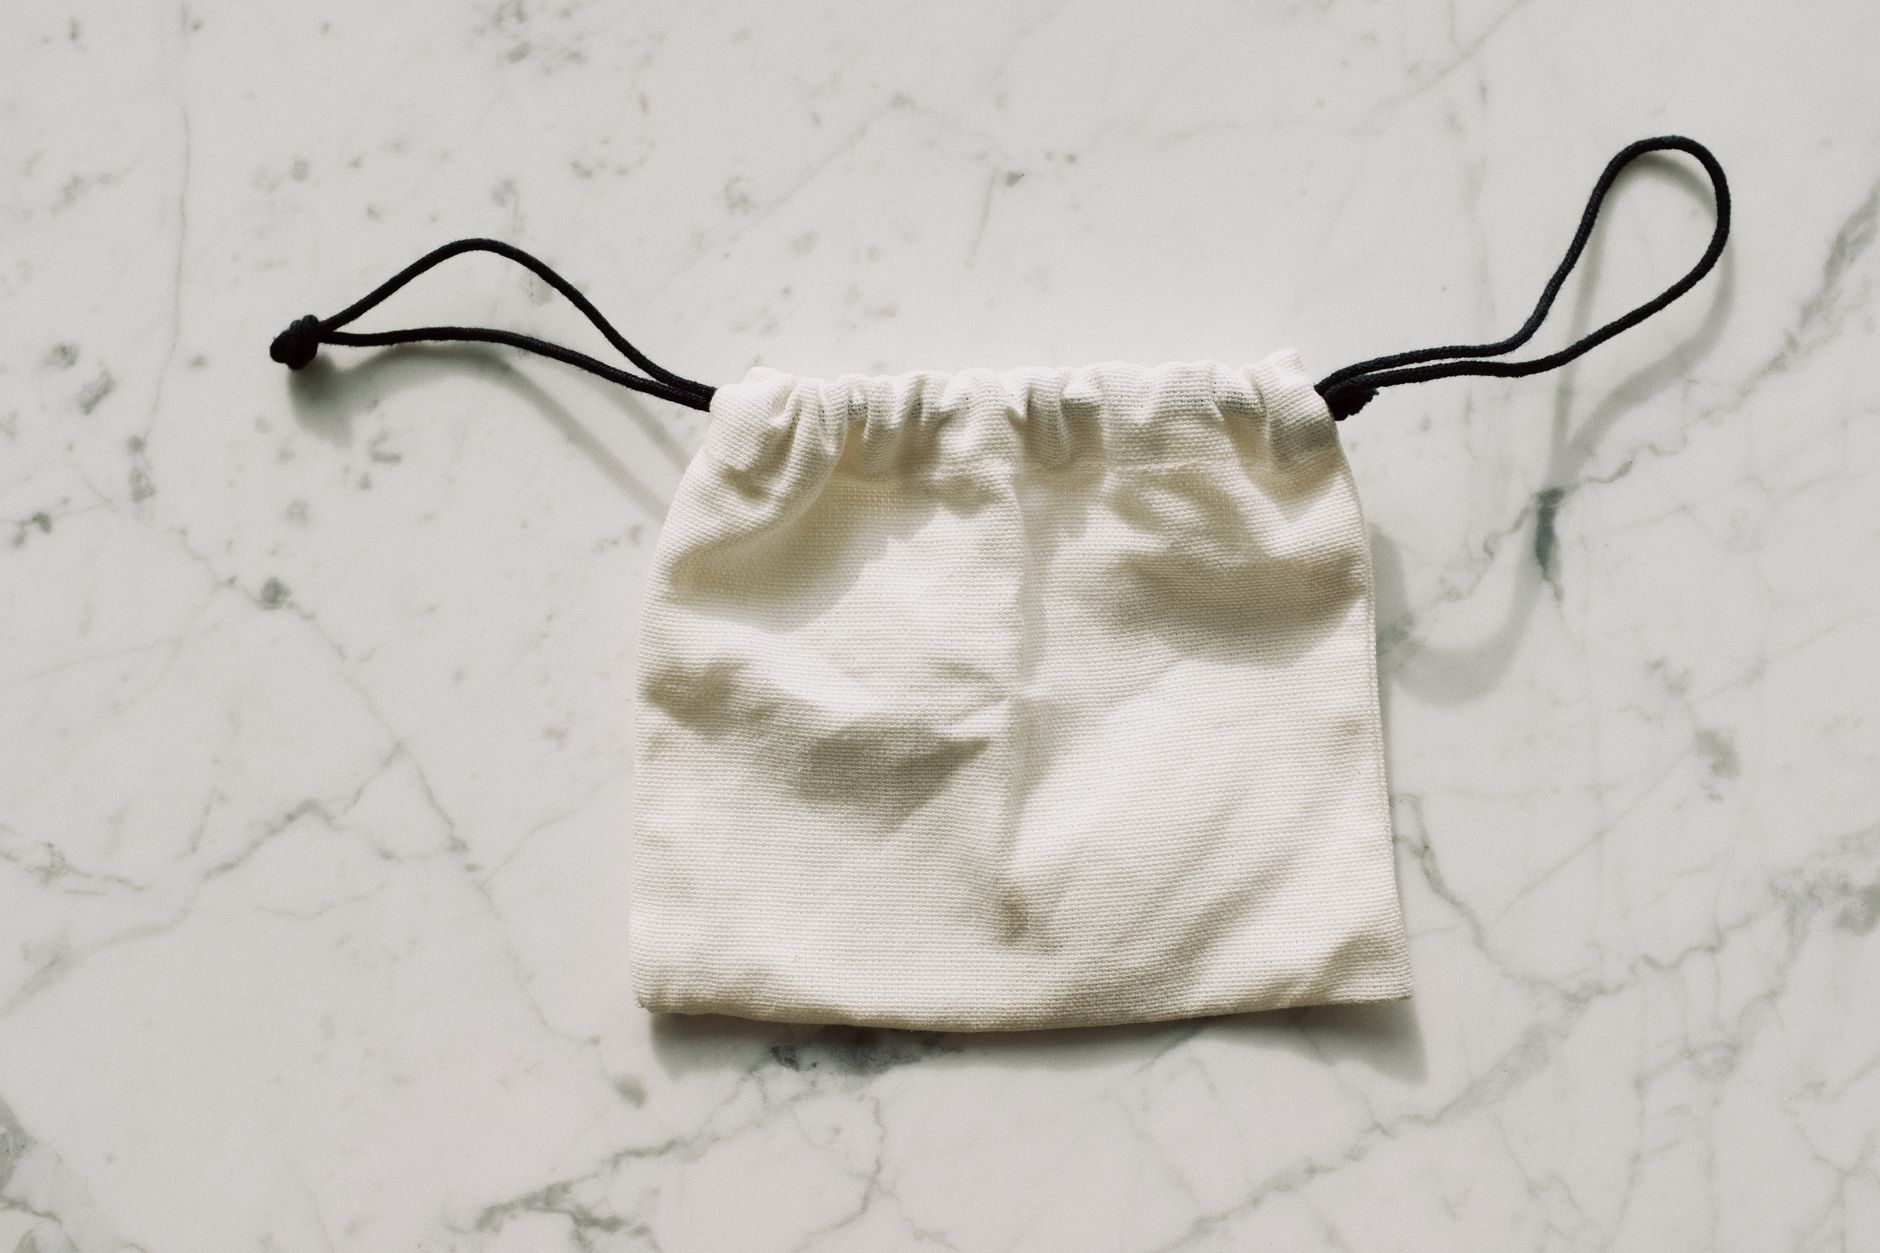
A drawstring bag is the kind of project that makes you feel like you actually know what you are doing. It comes together in under an hour, uses a small amount of fabric, and is genuinely useful when it is finished. Whether you want to make one for the gym, a child's library bag, a market stall, or just to use up beautiful fabric sitting in your stash, this guide walks you through every step from cutting to cord.
What you will need
Before you start, gather your materials. The list is short:
- Fabric: two rectangles measuring approximately 38 cm wide by 42 cm tall (this makes a standard-sized bag; adjust for larger or smaller versions)
- Cord or ribbon: around 150 cm total, cut into two equal lengths
- Sewing machine and matching thread
- Pins or wonder clips
- Iron and ironing board
- Safety pin (for threading the cord)
- Scissors or rotary cutter and mat
For fabric choice, woven cotton is the classic option and presses beautifully. If you want something with a little give, cotton jersey works too, though you will want to finish your seams carefully to prevent stretching. If you have been wondering whether jersey or woven fabric is right for your project, woven cotton wins here for ease of sewing and a clean, structured result.
Cutting and preparing your fabric
Cut your two rectangles to the same size. Take a moment to press them flat before you start sewing. If you are using digital printed fabric, always iron on the reverse side to protect the print. This is especially important with vibrant custom prints from preorder runs, where the design sits closer to the surface of the cloth.
It is also worth pre-washing your fabric before cutting if the finished bag will be washed regularly. Skipping this step is one of the easiest ways to end up with a puckered or shrunk project after the first wash. For a full rundown on why this matters, the guide on how to pre-treat fabric before sewing covers everything you need to know.
Sewing the bag body
Place your two fabric pieces right sides together, aligning all edges. Pin or clip around three sides: both long sides and the bottom short edge. Leave the top edge open.
Before you sew, mark two small gaps on each long side near the top. These gaps are the channels your drawstring cord will feed through. Measure down approximately 4 cm from the top edge and mark a 2.5 cm gap. This is where you will leave an opening in your seam.
Sew around the three closed sides using a 1 cm seam allowance, backstitching at the start and end. When you reach the marked gap on each side, stop sewing, backstitch, skip the gap, then start again and backstitch before continuing. These gaps need to be left open on both sides of the bag, so repeat the process on both long side seams.
Once sewn, press the seams open with your iron. This is one of those small steps that makes a big difference to how professional the finished bag looks.
Creating the drawstring channel
Fold the top raw edge of the bag down by 1 cm and press. Then fold it down again by 3 cm and press once more. This double fold creates a neat casing for your drawstring cord and encloses all raw edges at the top of the bag.
Pin the fold in place, then sew along the bottom of the fold all the way around the bag opening. Sew a second line of stitching close to the top fold as well. You now have a channel running around the full top of the bag, with the two gaps you left in the side seams acting as entry and exit points for the cord.
Threading the drawstring cord
Attach a safety pin to one end of your first length of cord. Feed the cord in through one of the side gaps, all the way around the inside of the channel, and back out through the same gap. Tie or knot the ends together.
Take your second length of cord and feed it in through the opposite side gap, all the way around, and back out through the same gap on that side. Knot these ends together too.
When you pull both cord ends apart, the bag will close evenly from both sides. This two-cord method is the standard approach for a proper drawstring bag because it distributes tension evenly and is easy to open and close with one hand.
Finishing touches
Turn the bag right side out and give it a final press. Check that your side seams are secure at the cord openings, and reinforce with a small hand stitch or a few machine stitches if anything looks loose.
If you want a more polished finish, you can sew a flat base by folding each bottom corner into a triangle and sewing across the point. This creates a box bottom that lets the bag stand upright and hold more volume. Aim for a triangle base of around 5 cm across for a standard-sized bag.
Drawstring bags made with custom printed fabric are particularly popular on market stalls and are one of the easiest projects to batch-produce. If you are looking to make more items to sell, the post on most profitable sewing projects to sell online is a practical next read for choosing what to make next.
Tips for the best result
- Use a sturdy cotton cord rather than thin ribbon if the bag will carry heavy items like library books or gym shoes.
- Reinforce the bottom seam with a second line of stitching if the bag will take a lot of weight.
- Match your thread to your fabric or use a contrast colour intentionally for a design detail.
- If the cord frays at the ends, wrap the tips with clear nail polish or heat-seal them with a lighter.
- For children's bags, avoid long cord lengths that could pose a safety risk. Knot the cord ends securely and keep the pull length short.
Once you have made your first drawstring bag, you will likely want to make another. They are fast, forgiving, and the kind of make that genuinely showcases a beautiful print. Cut a few at once and you will have a small stack finished before the afternoon is out.