
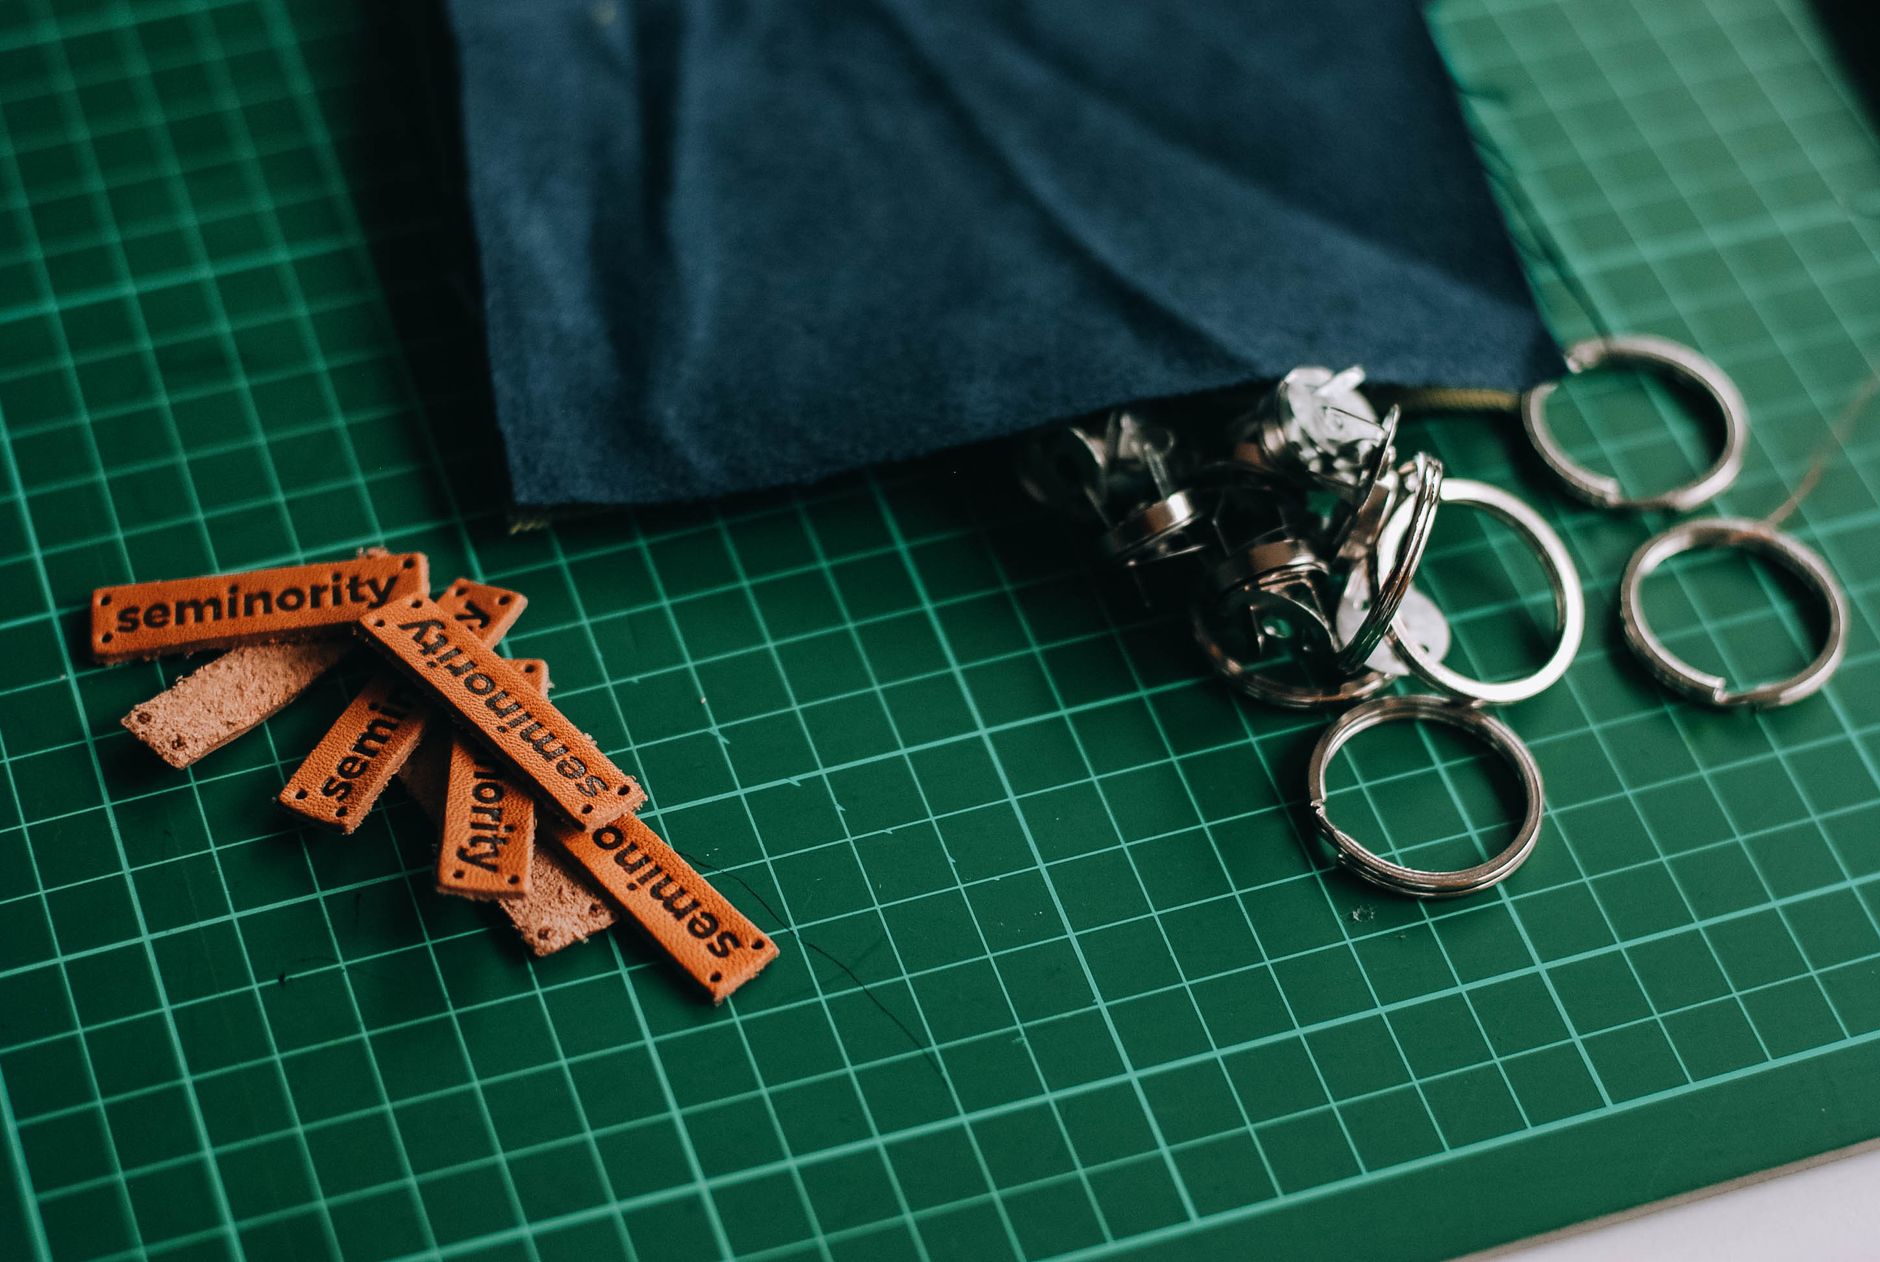
A fabric key fob is the kind of project that earns its place in your rotation fast. It uses up small cuts of fabric, takes less than an hour from cutting to finishing, and sells at markets for a solid return on both time and materials. If you've already built a stash of printed fabric scraps, this is exactly what to do with them.
What you'll need
The materials list is short. You need a strip of fabric approximately 28 cm x 6 cm, a piece of firm interfacing the same size, a 3 cm swivel clip or key ring hardware, and a sewing machine with thread to match. That's it. The interfacing is the piece most people skip, and it's the piece that makes the finished fob feel substantial rather than floppy. A medium-weight woven fusible interfacing works well here. If you want to understand how fabric weight affects project outcomes more broadly, the guide on how to choose the right fabric weight for your project covers that in detail.
Cutting and preparing the fabric
Cut your fabric strip, then cut a matching strip of interfacing. Fuse the interfacing to the wrong side of the fabric according to the manufacturer's instructions. Press firmly and allow it to cool completely before you move on. Rushing this step creates bubbles.
Fold the strip in half lengthways, wrong sides together, and press. Open it back out. Fold each long raw edge into the centre crease and press again. You now have a strip with all raw edges folded inward and four layers of fabric across its width. Fold the whole thing in half one final time along that original centre crease and press flat. The strip should now be roughly 28 cm x 1.5 cm with no raw edges visible on either long side.
Sewing the fob
Thread your machine. Run a straight stitch down each long edge of the prepared strip, roughly 2 mm from the edge. Slow down at corners if your machine needs it. These two lines of stitching are what hold everything together, so keep them straight and even. A second pass isn't necessary, but it doesn't hurt.
Next, fold the entire strip in half crosswise so the two short ends meet. Feed both short ends through the centre bar of the swivel clip or key ring hardware, then back through the loop they've just formed. Pull snug so the hardware sits at the fold. Pin the two short ends together, keeping the edges aligned.
Stitch across the short end where the two raw edges meet, as close to the edge as possible. Then stitch a second line about 1 cm back from that first line for reinforcement. A box stitch (a square with an X through it) is the strongest option if your machine can manage it. It only takes a moment and significantly improves how much weight the fob can hold.
Finishing and customising
Trim any loose threads. That's your key fob. From cut to finished, most sewists get this done in 20 to 30 minutes once they've made two or three and have the steps in muscle memory.
Where it gets interesting is in the fabric selection. A key fob is small enough that even a fat quarter gives you 8 to 10 strips, which means you can run a whole set from a single piece of printed fabric. Digital printed fabric works particularly well here because the designs are sharp at scale and the colours stay vivid even on a thin strip. Bold geometric prints, novelty prints, and fine florals all read beautifully on the finished fob. If you're looking at which digital print fabrics hold colour best on small-scale items like this, the breakdown of which fabrics hold vibrant digital prints best is worth reading before you cut into your good stock.
Selling fabric key fobs at markets
Key fobs retail well at $8 to $15 each at craft markets and online shops. They cost almost nothing to make per unit once you're cutting from existing fabric stock, and they display beautifully in a small basket or hanging from a pegboard. Bundle three for a gift-ready set and you can price those at $25 without any resistance.
Because key fobs are small and lightweight, they're also one of the easiest things to ship. A padded envelope handles them without any special packaging. That makes them a strong addition to any online shop alongside larger projects, filling order gaps and keeping revenue moving between bigger launches. They're a reliable companion to other fast-selling small makes like scrunchies, which share a similar cut-from-scraps, quick-to-finish workflow.
Keep a batch cut and interfaced in advance. When you sit down to sew, you can move through 6 or 8 of them in a single session without losing momentum. Matching sets in coordinating prints are particularly popular: buyers pick them up as gifts without needing any prompting.
Common mistakes to avoid
Skipping the interfacing produces a soft, floppy fob that won't hold its shape on a keyring. Use it. Stitching too close to the hardware when finishing the short end causes the needle to strike metal. Keep the last stitch line at least 5 mm back from the clip. And cutting strips slightly off-grain shows up in the finished fob as a twist. Take the time to cut straight.
One last thing: test the swivel clip before you sew. Cheap hardware from bulk packs sometimes jams. A fob you've spent 20 minutes on deserves a clip that actually works. Source your hardware from a craft supplier that sells it by the unit or in small packs, so you can check the action before committing to a large quantity.