
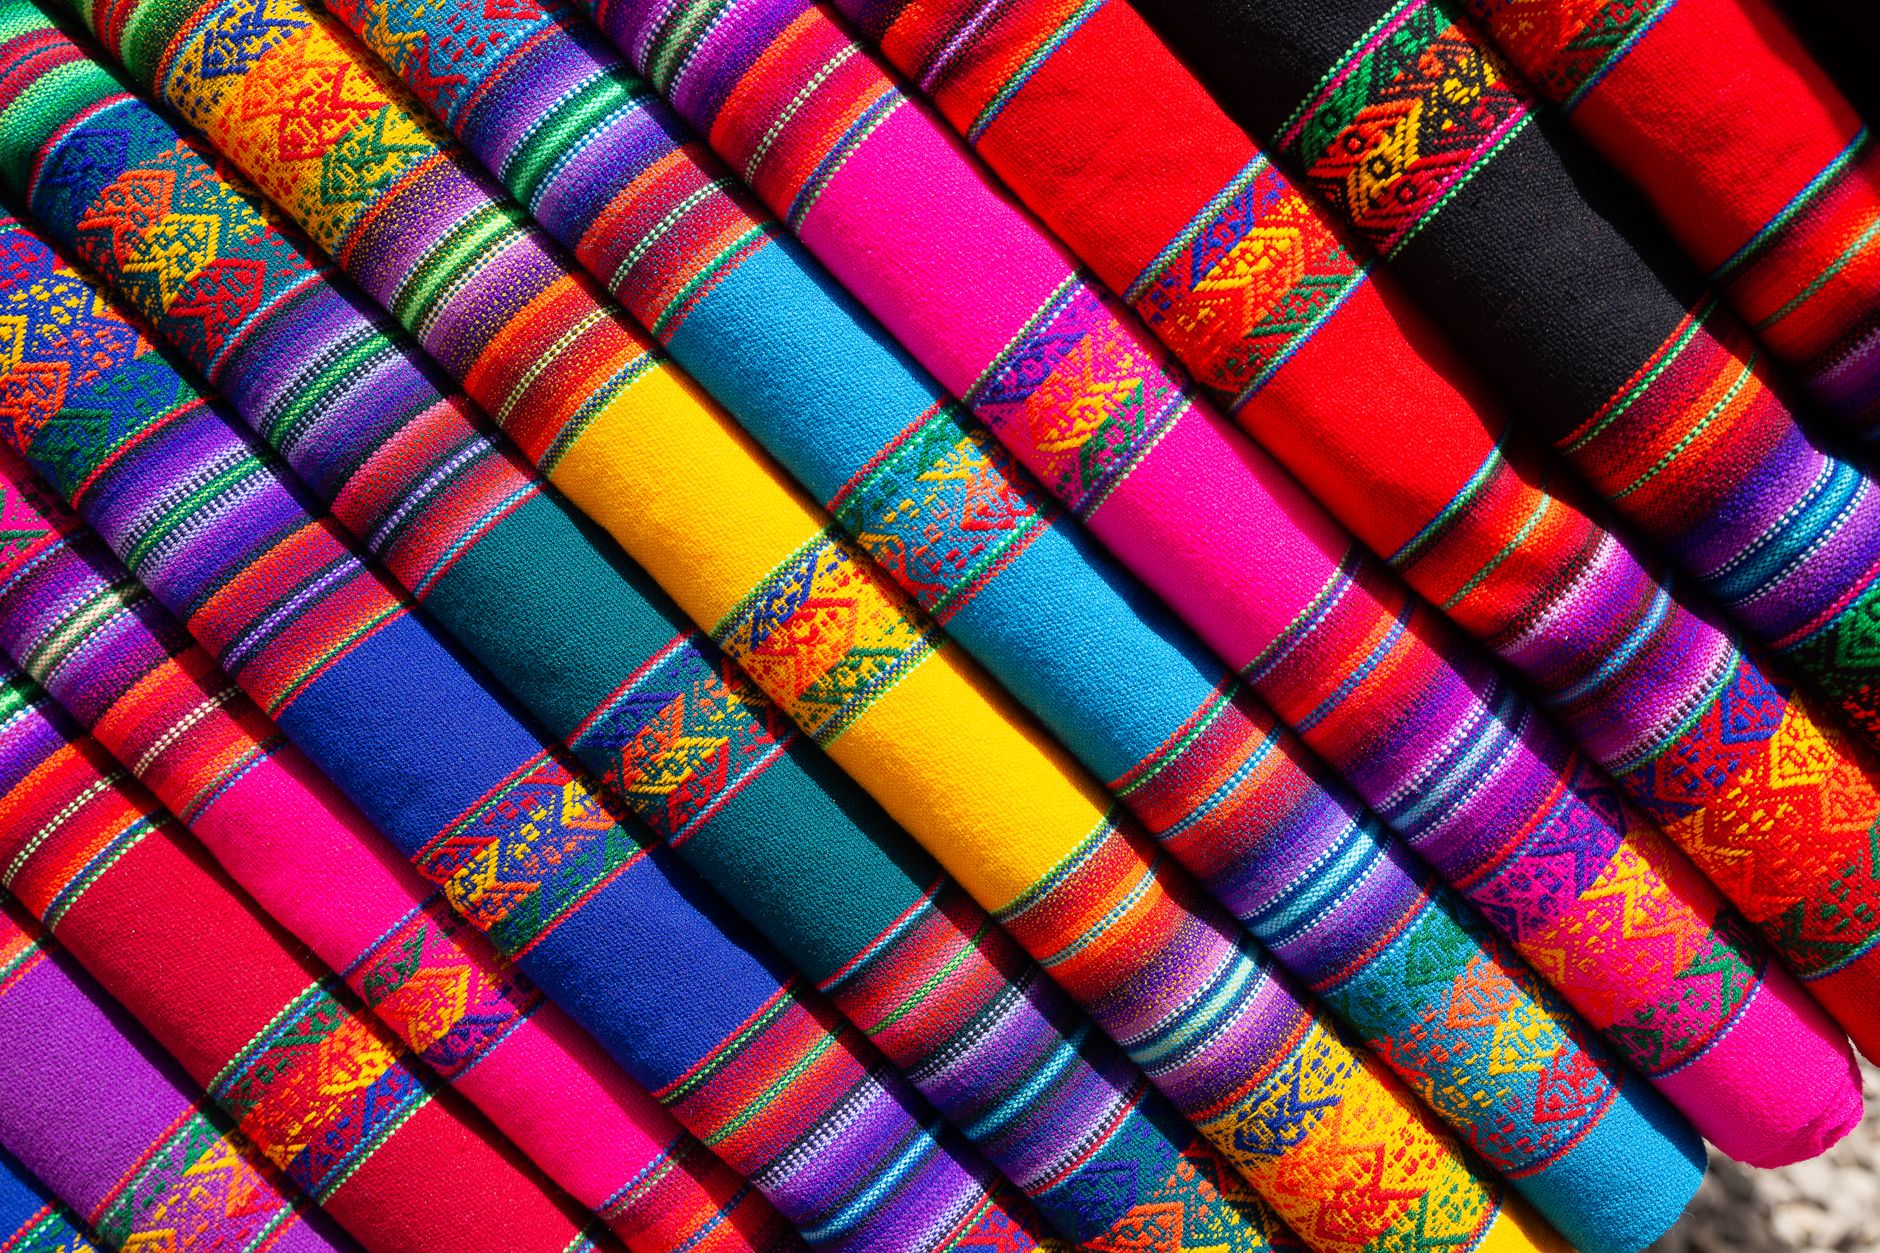
A scrunchie is the kind of project that makes you remember why you started sewing. It takes a small strip of fabric, a length of elastic, and about 20 minutes, and the result is something genuinely wearable, giftable, or saleable. If you've been looking for a beginner sewing project that delivers instant satisfaction without a pattern book or a long materials list, this is it. And if you're already an experienced sewist, scrunchies are one of the best ways to use up remnants from a larger cut, especially when you're working with beautiful digital printed fabrics that sell well online.
What you'll need
The materials list couldn't be simpler. You'll need a strip of fabric approximately 60 cm long and 11 cm wide. This gives you enough seam allowance to work with and a finished scrunchie that has good volume. For the elastic, a piece of 6 mm to 8 mm wide elastic cut to around 22 cm works well for most adults. You'll also need a needle and thread matched to your fabric, scissors or a rotary cutter, a safety pin, and access to a sewing machine (though this project can also be hand-sewn in a pinch).
In terms of fabric choice, almost any woven or knit fabric works. Quilting cotton is easy to handle and gives a crisp finish. Satin gives a luxurious look. Jersey will have a softer, stretchier result. Lighter to mid-weight fabrics are easiest for beginners, and since you only need a small strip, this is the perfect project for offcuts and remnants. If you've been sitting on a piece of beautiful custom printed fabric and aren't sure what to do with the leftover bits, a scrunchie (or a dozen of them) is your answer.
Step-by-step: how to sew a scrunchie
Step 1: cut and fold your fabric
Cut your fabric strip to approximately 60 cm x 11 cm. Fold it in half lengthwise with the right sides facing each other, so you have a long skinny rectangle with your fabric's right side on the inside. Pin along the long open edge.
Step 2: sew the long seam
Stitch along the pinned long edge using a straight stitch and a seam allowance of about 1 cm. Backstitch at each end to secure. Leave both short ends open for now. You should now have a long fabric tube.
Step 3: turn the tube right side out
This is the most fiddly part but it gets easier with practice. Attach a safety pin to one short end of the tube, then push the pin through the inside of the tube, gently gathering the fabric over itself until the whole thing is turned right side out. Give it a press with your iron if you're using cotton or another heat-safe fabric, positioning the seam so it runs along one side rather than the centre.
Step 4: thread the elastic through
Attach your safety pin to one end of the elastic and feed it through the tube, being careful not to lose the other end. Once the elastic is all the way through, overlap the two ends by about 1.5 cm and stitch them together securely. Sew back and forth several times so the join holds. Give the elastic a little tug to test the join before proceeding.
Step 5: close the scrunchie
Pull the fabric tube so both short ends meet. Tuck one raw end into the other (fold the raw edges in by about 1 cm on each side), and pin them together so the tube forms a complete circle. Stitch across the opening, stitching as close to the folded edges as possible. Backstitch at both ends. That's it. Your scrunchie is finished.
Tips for a better result
A few small adjustments make a noticeable difference in the finished look. Pressing your seam allowances before turning the tube right side out makes the turning process easier and gives the scrunchie a neater finish. If you're using a slippery fabric like satin, consider adding a few extra pins along the long seam and sewing slowly. For scrunchies intended for sale or gifts, a longer fabric strip (up to 70 cm) creates a fuller, more voluminous result that looks particularly good in lightweight fabrics like cotton voile or linen blends. If you want to explore what makes linen such a rewarding fabric to work with, the post on linen fabric and why it's worth the extra effort is worth a read before you cut.
When it comes to sizing, the 22 cm elastic length suits most adult wrists and ponytails comfortably. For children's scrunchies, shorten the elastic to around 17 cm to 18 cm. For an oversized fashion scrunchie, use a wider elastic (up to 12 mm) and a longer, wider fabric strip for that chunky, runway-ready look.
Making scrunchies to sell
Scrunchies are one of those rare handmade products that tick every box for sellers. The material cost is low (especially when you're using fabric remnants), they're fast to produce once you have the process down, and they have consistent demand year-round. A bundle of three coordinating scrunchies in a complementary print set is especially popular as a gift purchase. If you're building a product range, pairing scrunchies with matching zipper pouches or drawstring bags using the same fabric creates a cohesive look that's easy to market.
Custom printed fabrics are particularly appealing in scrunchie form because the print gets to be the star. A bold floral, a retro geometric, or a fun novelty print all translate beautifully on such a small canvas, and buyers notice the difference between a generic print and something that feels considered and exclusive. If you're thinking about building a side hustle from beginner sewing projects, scrunchies are a genuinely smart place to start while you build speed and confidence.
Variations worth trying
Once you've made your first scrunchie, it's easy to experiment. Try a velvet fabric for a luxurious feel that sells particularly well in the cooler months. Use a stripe or plaid and pay attention to how you position the pattern along the strip so it runs diagonally around the finished scrunchie for an interesting effect. A knotted scrunchie is another popular variation: sew the tube but instead of closing it with stitching, tie the two ends together in a simple knot for a more casual, handmade aesthetic.
You can also make scrunchies entirely by hand if you don't have access to a machine. A running stitch along the long seam and a few securing stitches at the closure and elastic join are all you need. The result takes a little longer but is just as charming, and it's a great option for travel sewing or for introducing kids to hand stitching.
Start with one, then make ten. Scrunchies have a way of becoming the project you return to again and again, and for good reason: they're quick, they're satisfying, and they never stop being useful.