
A fabric lunch bag is one of those sewing projects that earns its keep. Unlike decorative makes that sit on a shelf, a well-sewn lunch bag gets pulled out every morning, stuffed full of food, and carried somewhere. That daily use is also why it's worth making properly: the right fabric, a clean zip, and a sturdy base will outlast a dozen disposable alternatives. Here is how to sew one from scratch, including what materials actually hold up and where beginners tend to go wrong.
What you need before you start
You'll need two fabric types for this project: an outer fabric and a lining. The outer fabric does the most work visually, so it's a good opportunity to use a bold digital print. For the lining, you want something with a tight weave that resists moisture, so a coated cotton, ripstop, or a canvas-weight cotton all perform well inside a lunch bag. A mid-weight outer cotton or cotton-canvas around 200–280 GSM holds structure without adding too much bulk. If you're unsure what GSM to look for, understanding fabric GSM is a genuinely useful place to start before you order.
For hardware, you need a 30 cm zip (a nylon coil zip works well here), a 30 cm length of fusible fleece or foam stabiliser, a zipper foot for your machine, and basic sewing supplies. Cut the following pieces:
- Outer fabric: two rectangles 32 cm × 28 cm, plus one base rectangle 32 cm × 14 cm
- Lining fabric: same dimensions as the outer pieces
- Fusible fleece: same dimensions, to bond to the outer pieces only
Iron the fusible fleece to the wrong side of each outer piece before you touch your zip. This step is non-negotiable. Without it, the bag goes floppy and the zip gapes.
Attaching the zip
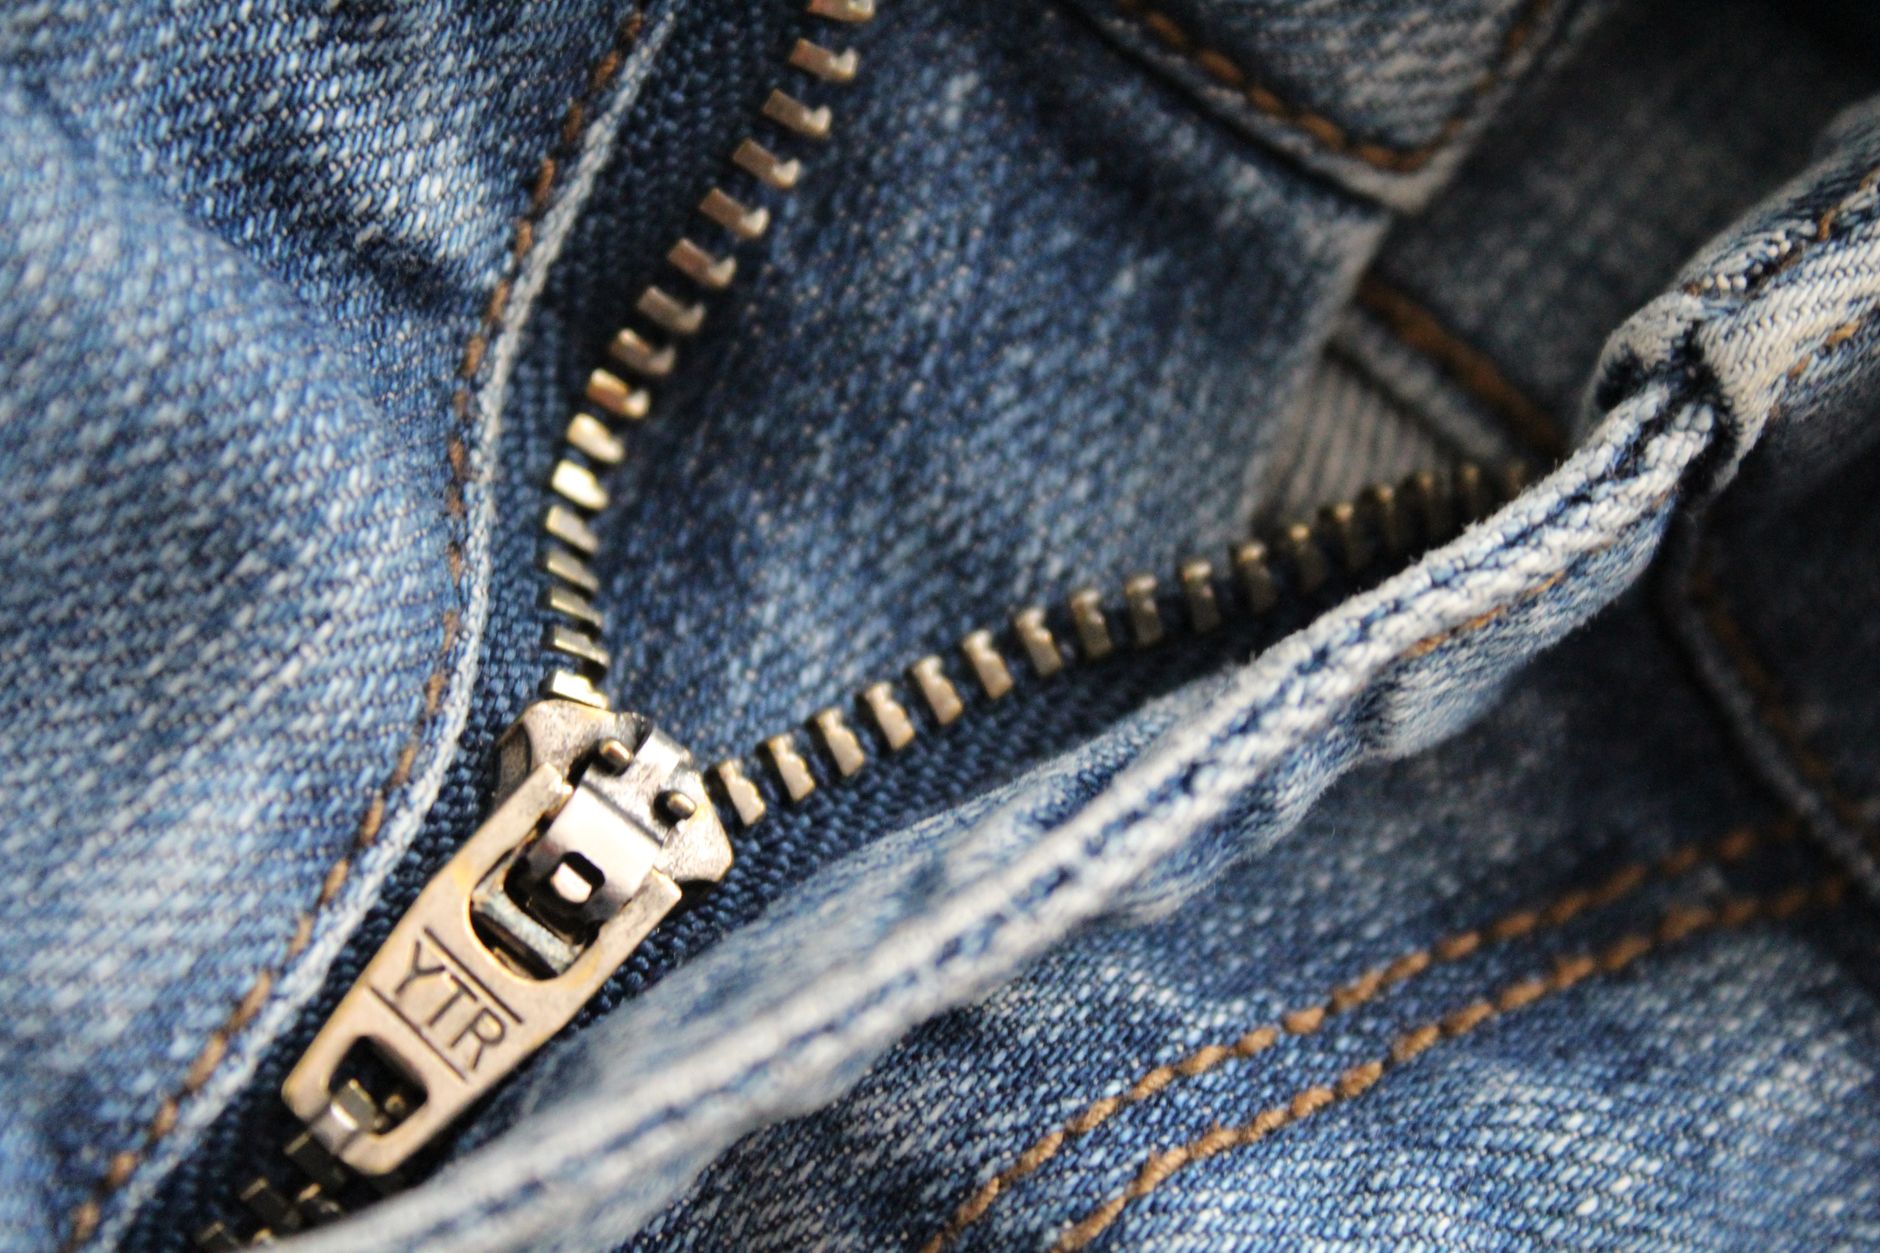
Place one outer front piece right-side-up on your table. Lay the zip face-down along the top edge, teeth pointing inward. Place the lining front piece right-side-down on top, sandwiching the zip. Pin or clip everything together, then sew along the top edge using a 1 cm seam allowance with your zipper foot. Press the fabrics away from the zip. Topstitch 3 mm from the fold. Repeat this process for the back pieces on the other side of the zip.
Open the zip halfway before you sew the bag closed. This is the step beginners skip, and it means they can't turn the bag right-side-out afterwards. Half-open. Every time.
Sewing the bag body
With the zip attached, spread the project flat so the outer fabrics face each other (right sides together) and the lining pieces face each other on the other side. The zip sits in the middle. Pin around the sides and bottom, leaving a 12 cm gap in the lining bottom for turning.
Sew around the perimeter with a 1 cm seam allowance. At each zip end, reinforce with a second pass. Clip the corners. Now box the corners to give the bag a flat base: pinch each corner, match the side seam to the bottom seam, and sew a straight line 6 cm from the tip. Do this on all four outer corners and all four lining corners.
Turn the bag right-side-out through the gap in the lining. Push the corners out with a blunt tool, not your scissors. Slip-stitch the lining gap closed, or machine-stitch it with the lining tucked in flat. Push the lining inside the bag and press the top edge well.
Fabric choices that make a real difference
The lining fabric matters more than most tutorials admit. A standard quilting cotton lining will absorb spills and look sad within a month. A wipe-clean coated cotton or a PUL (polyurethane laminate) lining is easier to care for and keeps the bag hygienic. If you're making this as a gift or to sell at a market, the lining quality is what a buyer will notice when they open it. It's a detail that's invisible from the outside and obvious from the inside.
For the outer fabric, digital printed cotton is a strong choice. Fabric by TrishaMakes stocks printed cotton with clear, vivid designs that hold their colour through repeated washing. If you're choosing a print for a lunch bag specifically, bold geometric or nature-inspired designs tend to hide the slight creasing that daily use brings. A tiny, delicate print tends to look tired faster.
If you plan to sell this project, the outer fabric is also your biggest differentiator. A lunch bag in a generic solid cotton competes on price. A lunch bag in an exclusive digital print competes on design. The most profitable sewing projects to sell online almost always have that kind of visual hook built into the fabric itself.
Finishing and care
Topstitch around the top of the zip opening once the bag is assembled. It keeps the lining from peeking out and adds a clean, professional look. A bartack at each end of the zip adds durability if your machine has one; if not, a tight zigzag stitch does the same job.
For washing, turn the bag inside out, wipe the lining down first, and machine wash on a gentle cold cycle. Avoid the dryer if the outer fabric is a digital print. Air drying flat keeps the base shape intact. For more detail on washing digital print fabric without fading, there's a full guide worth reading before your first wash.
The zip top makes this far more practical than a bag with a simple fold-over or drawstring closure. Food stays contained if the bag tips over in a school bag or tote, and nothing escapes when it's tossed into a car boot. It's a small design decision that makes the finished make genuinely better to use.
One lunch bag takes around 90 minutes start to finish for a confident beginner. Once you've made two or three, you'll cut that to under an hour. At that pace, it's one of the better projects to batch if you're stocking a market stall or building inventory ahead of a launch.
Cut everything the night before. Sew in the morning. The zip is the only fiddly part, and even that becomes muscle memory by the second bag.