
A fabric makeup bag with a flat base is a genuinely satisfying project. It looks polished, it stands up on a bathroom shelf without flopping over, and it uses up small cuts of printed fabric in the best possible way. The boxed-corner technique that gives it structure is easier than it sounds. You don't need a pattern, just a ruler, a zipper, and about 45 minutes.
What you'll need
Before cutting anything, gather your materials. For a finished bag measuring roughly 22 cm wide, 12 cm tall, and 8 cm deep, you'll need:
- Two rectangles of outer fabric, each 28 cm x 20 cm
- Two rectangles of lining fabric, the same size
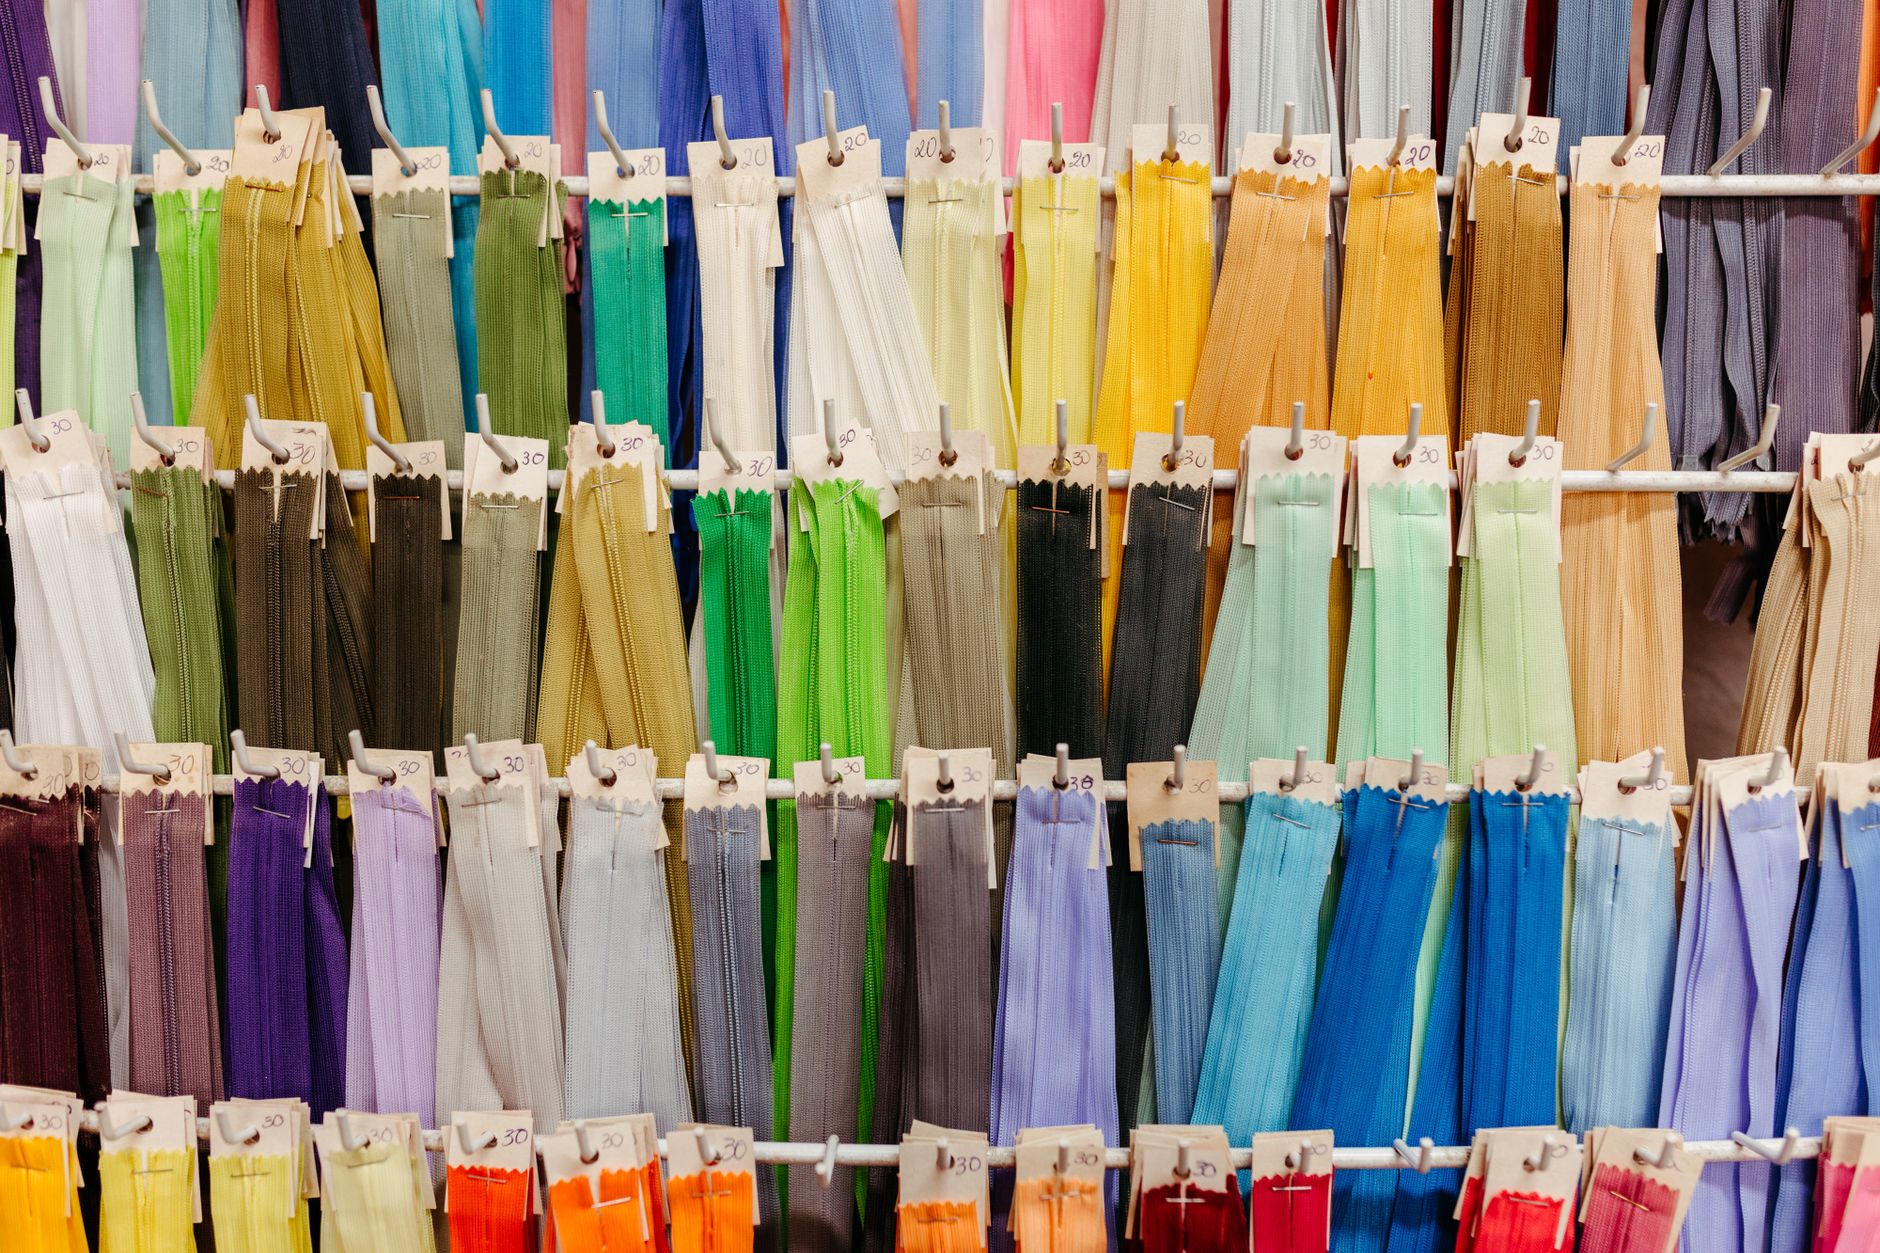
- One 25 cm zip (a nylon coil zip works well and is easy to sew)
- Lightweight fusible interfacing, cut to match your outer pieces
- A zip foot for your sewing machine
Fabric choice makes a real difference here. You want something with enough body to hold its shape once the base is boxed. A scuba fabric works beautifully for the outer shell: it's stable, it doesn't fray readily, and digital prints on scuba stay vivid wash after wash. Cotton canvas or a medium-weight quilting cotton with interfacing fused to the back are solid alternatives.
Cutting and preparing your fabric
Fuse the interfacing to the wrong side of each outer fabric rectangle before you cut anything else. Press firmly with a hot iron and let each piece cool completely before you handle it. Rushing this step leads to bubbling, and bubbling is nearly impossible to reverse.
If you're using a digital printed fabric from Fabric by TrishaMakes, press from the wrong side only. Printed surfaces can scorch or lose definition if the iron sits directly on them. A pressing cloth helps if you need to work from the right side at any point.
Attaching the zip
This is the step people dread most. It's fine. Place one outer rectangle right-side up on your work surface. Lay the zip face-down along the top edge, raw edges aligned. Place one lining rectangle on top, also face-down, sandwiching the zip between the two fabric layers. Pin through all three layers.
Switch to your zip foot and sew along the top edge with a 1 cm seam allowance, keeping the zip pull out of the way by moving it as you go. Press the fabric away from the zip, then topstitch 2–3 mm from the seam. Repeat this entire process on the other side of the zip with your remaining outer and lining rectangles.
When you open the zip out flat, you should have a long rectangle with the zip running down the middle. Press both sides carefully.
Sewing the bag body
Open the zip halfway. This is not optional: if you forget to do it, you'll sew the bag shut and won't be able to turn it through. Separate the outer fabrics from the lining fabrics by folding them right sides together: outer fabric to outer fabric, lining to lining. The zip sits in the middle.
Pin around all four sides. Leave a 10 cm turning gap in the bottom seam of the lining. Sew all the way around with a 1 cm seam allowance, backstitching at the start and end of the turning gap. Clip the corners at 45 degrees.
Boxing the corners for a flat base
This is the part that transforms the bag. On each bottom corner of the outer fabric (and the lining), pinch the corner so the side seam lines up exactly with the bottom seam. You'll create a small triangle of fabric. Measure 4 cm from the tip of the triangle and draw a straight line across it. Sew along that line. Cut off the triangle, leaving a 1 cm seam allowance beyond your stitching.
Do this to all four corners: two on the outer bag, two on the lining. Each boxed corner adds 4 cm of depth to the base. Adjust the measurement if you want a shallower or deeper base.
Turning and finishing
Pull the whole bag through the turning gap in the lining. It will feel awkward. Keep going. Once it's right-side out, push the lining down inside the outer bag. Press the top edges to get a crisp finish around the zip.
Close the turning gap by folding the raw edges under 1 cm and topstitching across it, or slipstitch by hand if you'd prefer it invisible. Push the lining firmly down inside the bag and give the whole thing a press.
If you want a cleaner base, topstitch across the bottom of the finished bag from the outside, about 3 mm from the edge. It flattens the base and keeps the lining from bunching.
Making it sell
A makeup bag with a flat base photographs better than a plain pouch because it stands on its own. Fill it loosely with a few items before shooting so the shape reads clearly. If you're selling at markets or online, consider making a set of three in the same print at different sizes: a small coin-sized version (great for earbuds or lip balm), a standard makeup bag, and a larger toiletry bag.
Fabric choice is your biggest point of difference. Exclusive digital prints mean no one else at the market is selling the same bag in the same print. That matters more than most makers realise. If you're thinking about the most profitable sewing projects to sell online, structured pouches and bags consistently sit near the top of the list because the materials are cheap, the sewing time is short, and customers genuinely need them.
Matching lining to outer fabric or deliberately contrasting them are both strong choices. A bold botanical outer with a tonal lining in a coordinating solid colour looks intentional and considered. A novelty print outer with a complementary geometric lining surprises customers when they open it.
A few things worth knowing before you start
Zips slip when you're trying to pin them. Use wonder clips or binding clips instead of pins along the zip tape: they grip without distorting the zip or the fabric. Keep your seam allowance consistent around the zip or the finished top edge will be uneven.
If the zip pull is hard to move after sewing, rub the teeth lightly with a beeswax block or a bar of soap. It works instantly and won't stain the fabric. And if your corners aren't sitting quite flat the first time, don't stress: a firm press with a hot iron and a tailor's ham sorts out most of it.
For anyone new to accessories sewing, this project sits just one step above a basic zipper pouch. The only additional technique is the boxed corner, and once you've done it twice, it becomes automatic.