
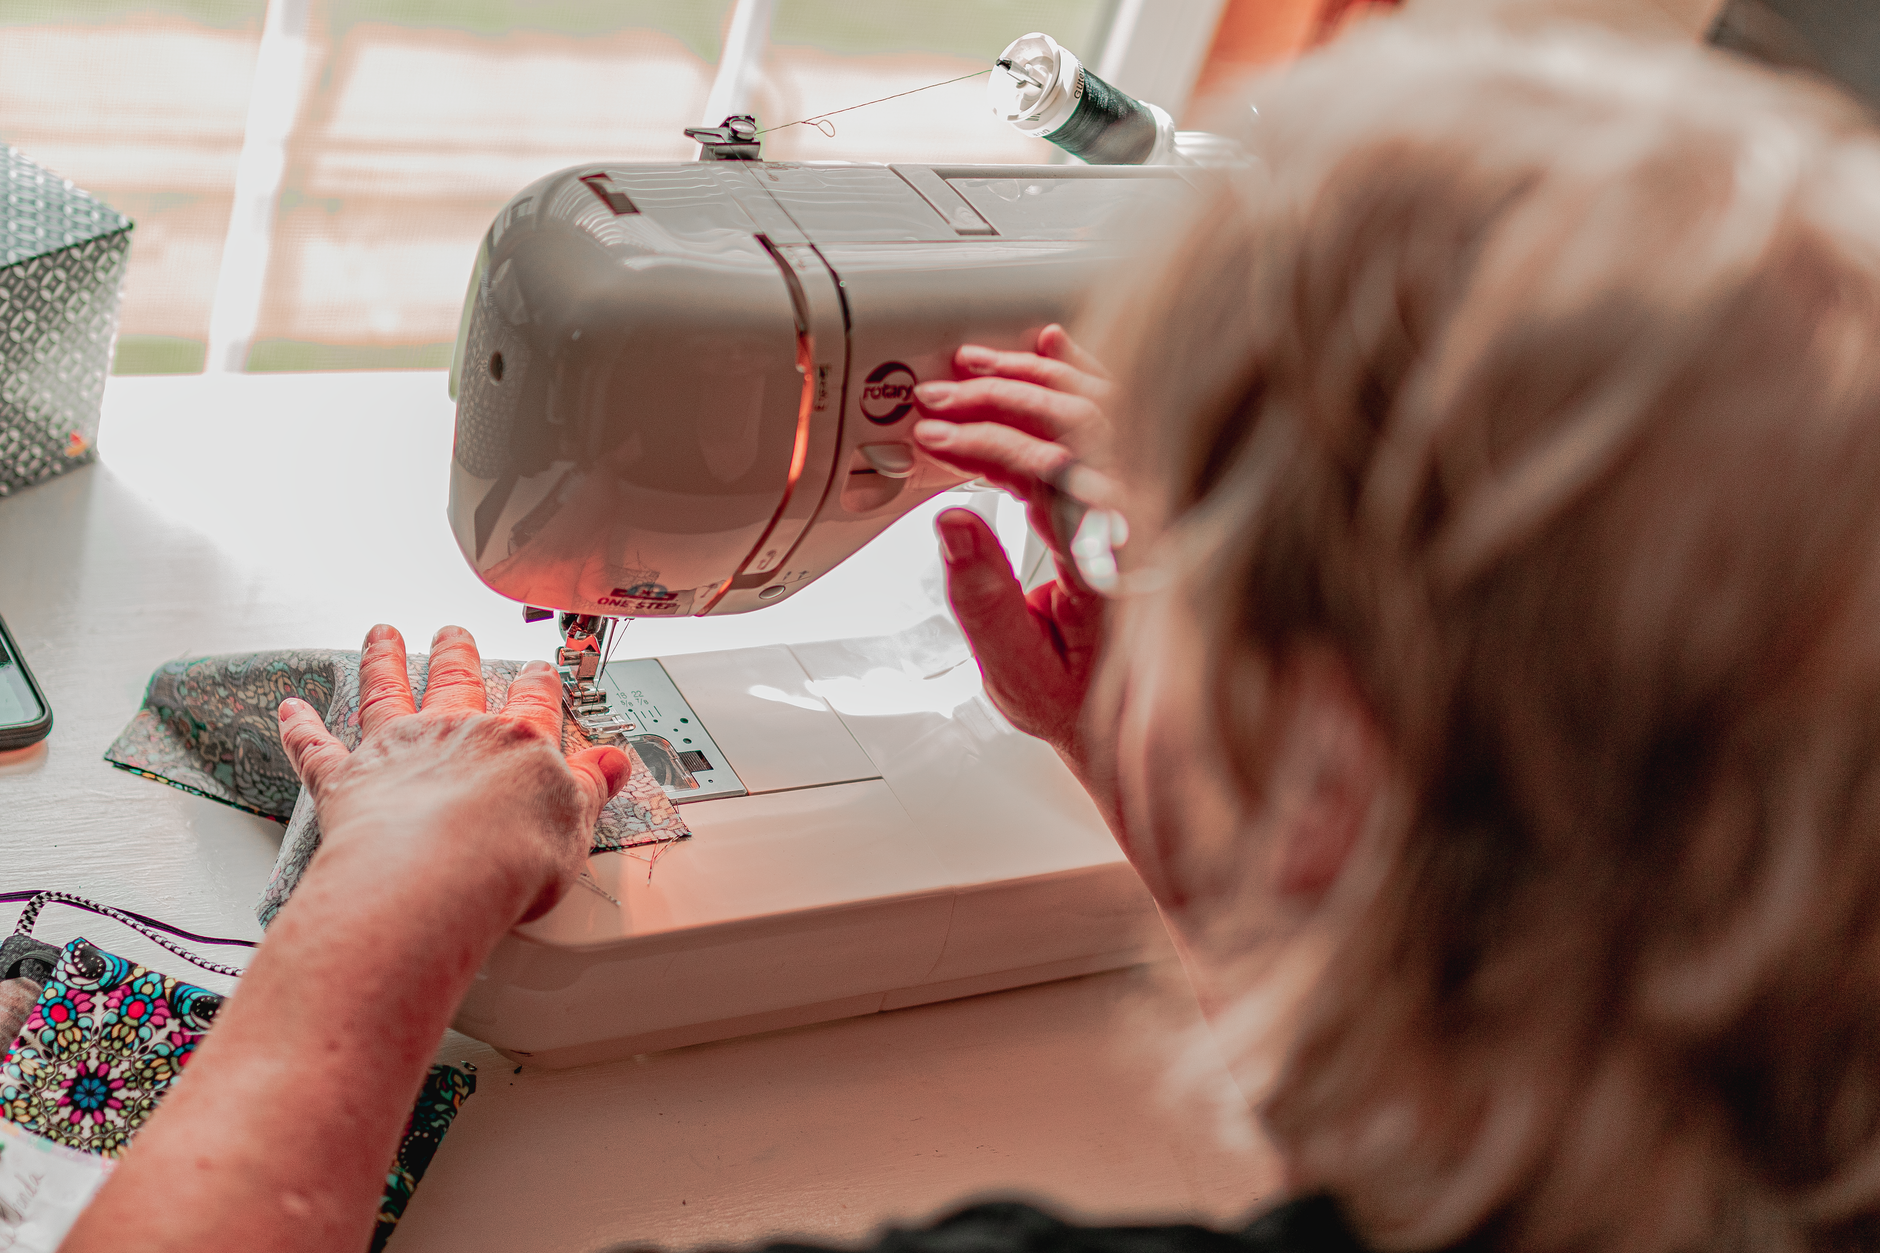
A fabric water bottle holder is a project you can cut, sew, and finish in under two hours. It uses a small amount of fabric, handles the heat of an Australian summer, and appeals to buyers who carry a drink bottle everywhere. If you're looking to add something new to your market stall or online shop, this is one of the better choices you can make with a fat quarter of printed fabric.
What you'll need
The materials list is short. For a standard 750 ml bottle, you'll need:
- One fat quarter of your main printed fabric
- One fat quarter of lining fabric (cotton quilting weight works well)
- Optional: a 20 cm strip of thick interfacing to stabilise the base
- 1.5 metres of cord or webbing for the strap
- One cord lock or D-ring, depending on your strap style
- Matching thread and basic sewing kit
Fabric choice matters here. A medium-weight cotton or a cotton-linen blend holds its shape without being too stiff to gather at the top. If you're working with a digital print, choose a base that won't stretch or distort when the bottle sits inside. If you're unsure which fabric performs best for projects like this, the guide to which fabrics hold vibrant digital prints best covers the key differences in a practical way.
Cutting your pieces
For a 750 ml bottle, cut these pieces:
- Main fabric: one rectangle 38 cm x 28 cm, plus one circle 12 cm in diameter
- Lining fabric: same dimensions as above
If you're making a holder for a 1 litre bottle, increase the rectangle to 42 cm x 30 cm and the circle diameter to 13.5 cm. Always measure your bottle first. Bottle diameters vary a lot between brands, and a holder that's even 1 cm too narrow won't slide on and off cleanly.
Mark the circle with a fabric marker and cut slowly. A rotary cutter doesn't corner well on circles. Use sharp fabric scissors and cut in one continuous movement rather than small snips.
Sewing the body
Fold your main fabric rectangle in half lengthways, right sides together, and sew the long edge with a 1 cm seam allowance. Press the seam open. This gives you a tube. Do the same with the lining piece, but leave a 6 cm gap in the seam. You'll use that gap to turn the whole thing right side out later.
Pin the base circle to the bottom of the outer tube, right sides together. Clip around the circle edge at 1 cm intervals before you sew. This step takes an extra two minutes but it's the difference between a smooth rounded base and one that puckers and folds. Sew slowly with a 0.8 cm seam allowance. Repeat with the lining circle.
If you want a firmer base, cut your interfacing circle slightly smaller than the fabric circle and fuse it to the wrong side of the outer base piece before sewing. It gives the holder a structure that keeps the bottle upright even when the holder's not being carried.
Attaching the strap
The strap is where you choose your style. A simple crossbody strap uses 1.2 to 1.5 metres of 2.5 cm cotton webbing with a clip at one end and a D-ring at the other. A drawstring-style holder uses narrow cord threaded through a casing at the top and cinched with a cord lock.
For the drawstring version, fold over the top edge of your outer tube by 1 cm, then again by 2.5 cm, and sew two parallel lines 1.8 cm apart to form the casing channel. Leave a 2 cm gap in your stitching on one side to thread the cord through. Pull the cord through with a safety pin, even out the ends, and attach the cord lock.
For the webbing strap, cut two 4 cm tabs of matching fabric or webbing and fold each into a loop. Sandwich these into the side seams when you sew the outer tube together, one near the top and one near the bottom. Clip the strap onto both once the holder is finished.
Putting it all together
Slide the outer tube inside the lining tube, right sides together, and align the top edges. Pin and sew around the top with a 1 cm seam allowance. Trim the seam to 0.7 cm, clip any curves, and then reach through the gap in the lining seam to pull everything right side out.
Push the lining down inside the outer tube. Press the top edge firmly so the seam sits right at the top rather than rolling inward. Topstitch around the top opening at 0.3 cm if you want a crisp finish. Close the lining gap with a short line of machine stitching or a few hand stitches.
Drop your bottle in and check the fit. The holder should be snug but not tight. The base should sit flat, and the top opening should gather or drawstring down smoothly.
Tips for selling this project
Water bottle holders sell consistently at markets from September through to March, which covers the bulk of the Australian warm season. They price well at $18 to $25 depending on the strap style and fabric quality, and they're fast enough to batch-produce without burning out. If you're thinking about how to manage your making time, the post on fabric key fobs pairs nicely with this project as a matched set for your stall.
Display them on the bottle rather than folded flat. A holder lying on a table looks like fabric. A holder on a bottle looks like a product. That one small change affects how quickly buyers pick it up and how much they're willing to pay for it.
Printed fabric makes a real difference to how these sell. A bold digital print in a colourway that suits the season consistently outsells plain canvas. If you're looking for what's trending in terms of colour and pattern, Australian summer fabric trends is a useful starting point for choosing prints that have current appeal.
Make a few in different sizes, label them clearly (750 ml, 1 L, tall/slim), and display both strap styles side by side. Buyers make faster decisions when they can see the options without having to ask.