
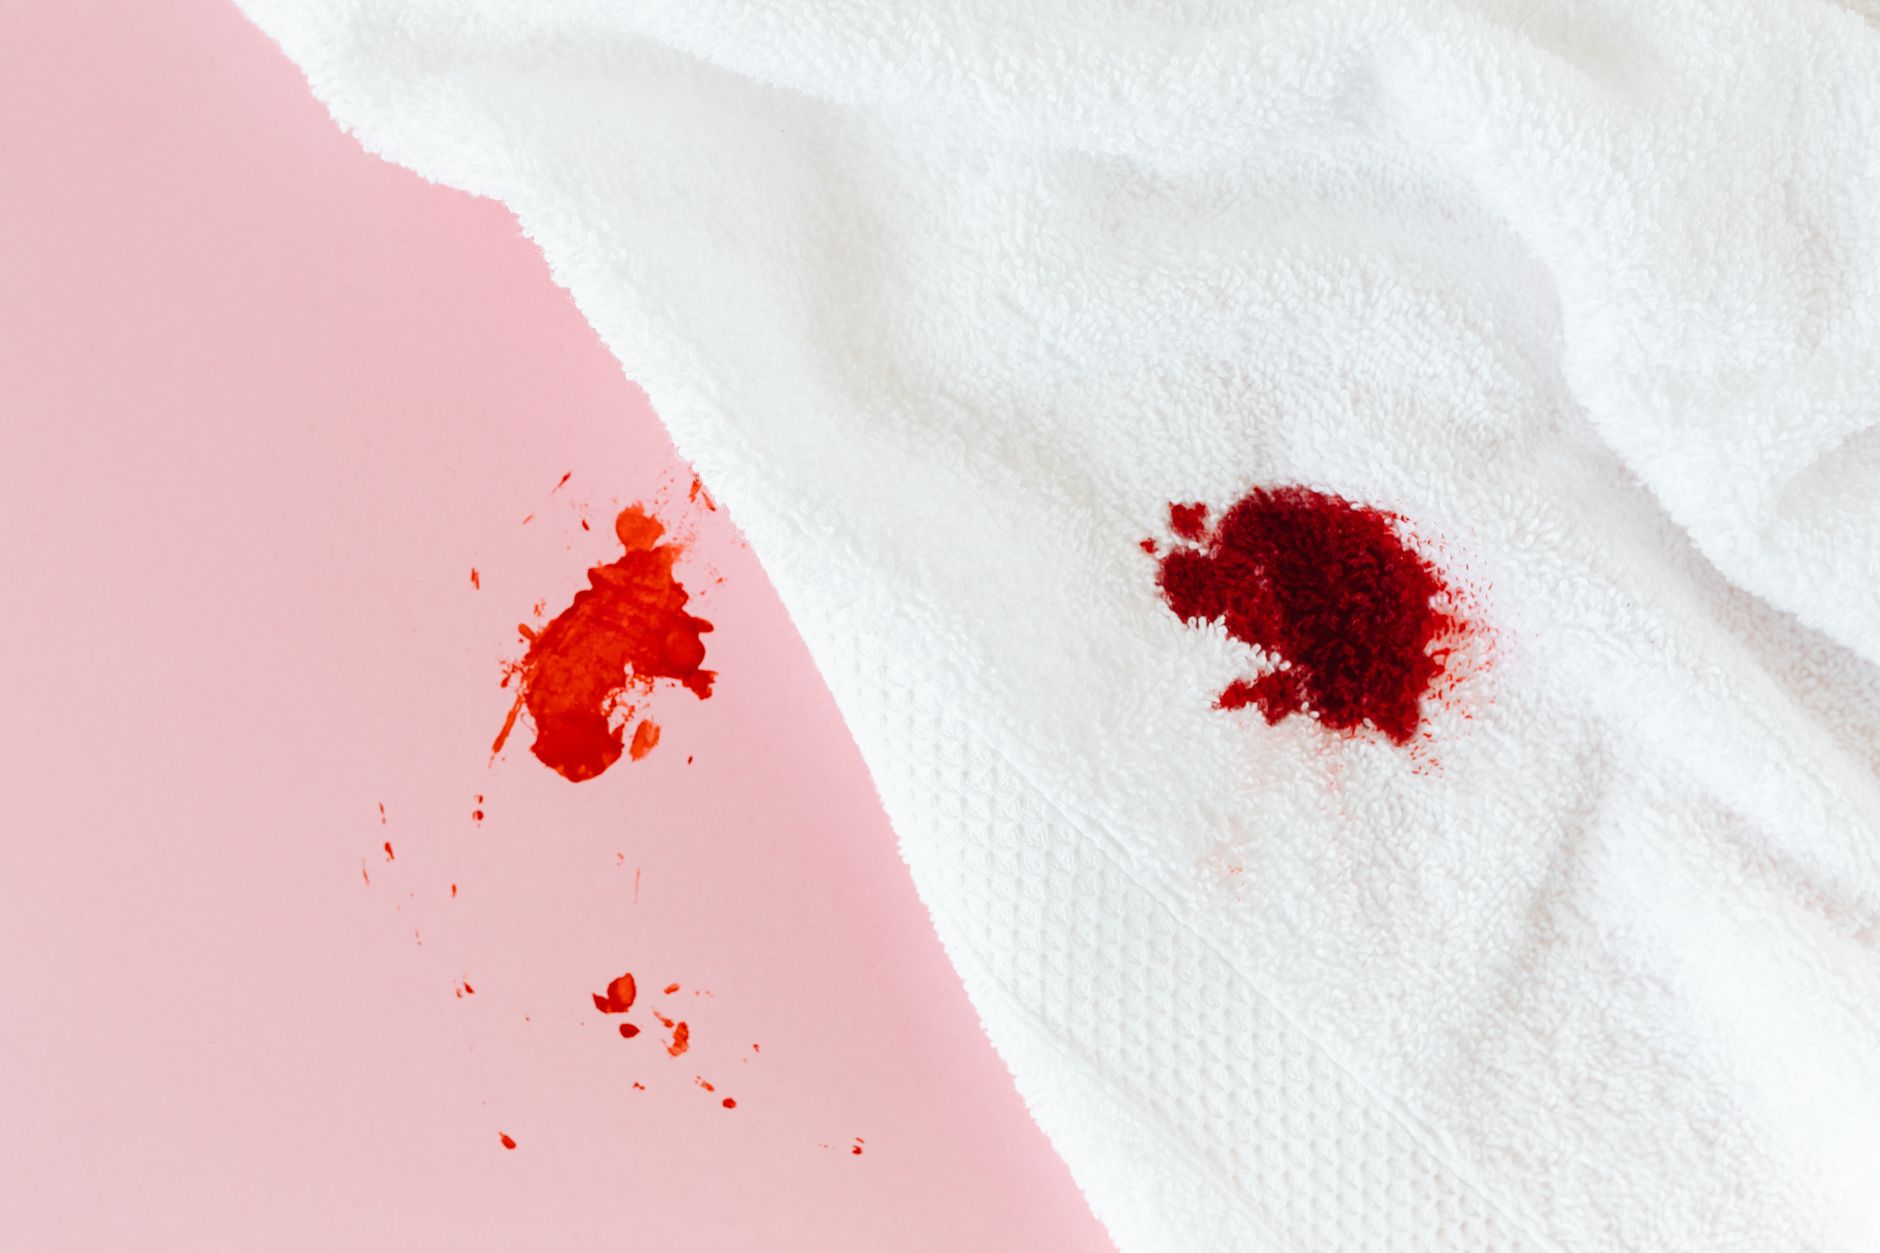
Colour bleed happens when dye from one fabric washes out and deposits onto neighbouring pieces in the drum. It can turn a pale quilting cotton pink, streak a white linen with blue, or leave a muddy haze across an entire batch of handmade garments. The good news: most colour bleed is treatable, as long as you catch it before the fabric goes in the dryer. Heat sets colour. That's the rule that governs everything that follows.
Why colour bleed happens in the first place
Loose dye is the culprit every time. Some fabrics, particularly dark saturated cottons and new polyesters, carry excess dye that didn't fully bond during the manufacturing process. When those fabrics hit warm water, the loose dye lifts and travels. It doesn't take much: a single dark piece in a drum of pale fabrics can stain the whole load if the water is warm enough and the cycle long enough.
Digital printed fabrics present a slightly different situation. The pigment inks used in reactive digital printing bond to the fibre at a molecular level, so they're generally less prone to bleeding than conventional dyed goods. But even a well-printed fabric can bleed lightly if it wasn't pre-washed before being added to a mixed load, or if it's washed at too high a temperature. That's why washing digital print fabric correctly is worth understanding before anything goes in the machine.
Act before the fabric dries
Speed matters more than any particular treatment. The moment you pull a stained piece from the drum, check whether it's still wet. If it is, don't panic. Re-wetting a fabric that has already dried is possible, but you're fighting set dye at that point, not loose dye sitting on the surface.
Separate the affected pieces immediately. Don't pile them together or leave them bunched in the drum while you decide what to do. Every minute of contact while wet gives the transferred dye another chance to bond.
The cold rinse method
Fill a clean basin or laundry tub with cold water. Submerge the stained fabric and agitate gently by hand for 2 to 3 minutes. The goal is to lift as much of the transferred dye as possible before it bonds. Drain and repeat. On a light bleed from a fresh wash, 2 to 3 cold rinse cycles will often clear the stain entirely without any additional product.
Cold is non-negotiable here. Warm water encourages dye to bond. Even cool tap water is better than running the piece through another warm machine cycle, which is a common mistake that locks the stain in permanently.
When rinsing isn't enough: oxygen bleach
Oxygen bleach (sodium percarbonate, sold in Australia as Vanish Oxi Action or similar) is the treatment of choice for colour bleed on most fabric types. It lifts transferred dye without the harsh bleaching action of chlorine bleach, which will strip colour from the fabric itself rather than just the stain.
Dissolve one scoop of oxygen bleach powder in a bucket of warm water. Submerge the stained fabric and soak for 30 minutes to an hour. Check the fabric at the 30-minute mark. Most light bleeds will have cleared by then. For heavier staining, extend the soak to 2 hours, but don't exceed that without checking the fabric's care label first.
Oxygen bleach is generally safe on cotton, linen, and most polyester blends. It's not suitable for wool, silk, or fabrics labelled "dry clean only". When in doubt, test a small hidden area before soaking the full piece.
Dealing with delicate or printed fabrics
Custom printed fabrics need a gentler approach. Soaking a reactive-printed cotton in oxygen bleach for 2 hours carries some risk of lightening the print itself, particularly in pale or pastel areas. For these pieces, start with the cold rinse method and repeat more cycles before reaching for a chemical treatment.
If a stain remains after 4 or 5 cold rinses, try a short oxygen bleach soak of 15 to 20 minutes rather than a full hour, then rinse thoroughly and assess. A faint residual tint is almost always better than an over-treated print.
It's also worth revisiting how you hand wash delicate or printed pieces, since a controlled hand wash removes the risk of mixed-load accidents entirely for your most valuable fabrics. The method in this guide on how to hand wash fabric safely at home covers the process step by step.
What if the bleed has already dried?
Dried-in colour bleed is harder to treat, but not impossible. Re-wet the fabric in cold water first, then move straight to an oxygen bleach soak. Expect longer soak times: 2 to 4 hours for a set stain rather than the 30 minutes that works on a fresh one. Some heavily set bleeds won't fully clear, but they will lighten, which may be enough depending on the fabric and the severity.
Don't tumble dry until you're satisfied with the result. Every pass through the dryer makes the remaining stain harder to shift.
Preventing colour bleed in future washes
Prevention is faster than treatment. A few habits remove most of the risk from mixed loads:
- Pre-wash any new dark fabric separately before adding it to a mixed load for the first time.
- Wash darks and lights in separate loads whenever the fabric colours are very different.
- Add a colour-catching sheet (such as Colour Catcher by Carbona) to mixed loads as a safety net. These work by absorbing loose dye before it reaches other fabrics in the drum.
- Keep wash temperatures at 30°C or below for mixed loads.
If you're washing handmade pieces alongside other laundry, checking the care labels on every item before loading is a 30-second step that prevents hours of remediation. The guide on how to read fabric care labels is a useful reference if the symbols aren't familiar.
When the stain can't be fully removed
Some bleeds won't clear completely, particularly on fabric with a very pale base that's absorbed a deep indigo or red dye. In that situation, you have 3 options: accept the faint tint if it's subtle enough not to matter, overdye the fabric intentionally to a darker colour that masks the stain, or repurpose the fabric for a project where the affected area will be cut away. Waste nothing. A stained remnant can still become a draft pattern piece, a stabiliser layer, or a patch pocket that won't be seen.