
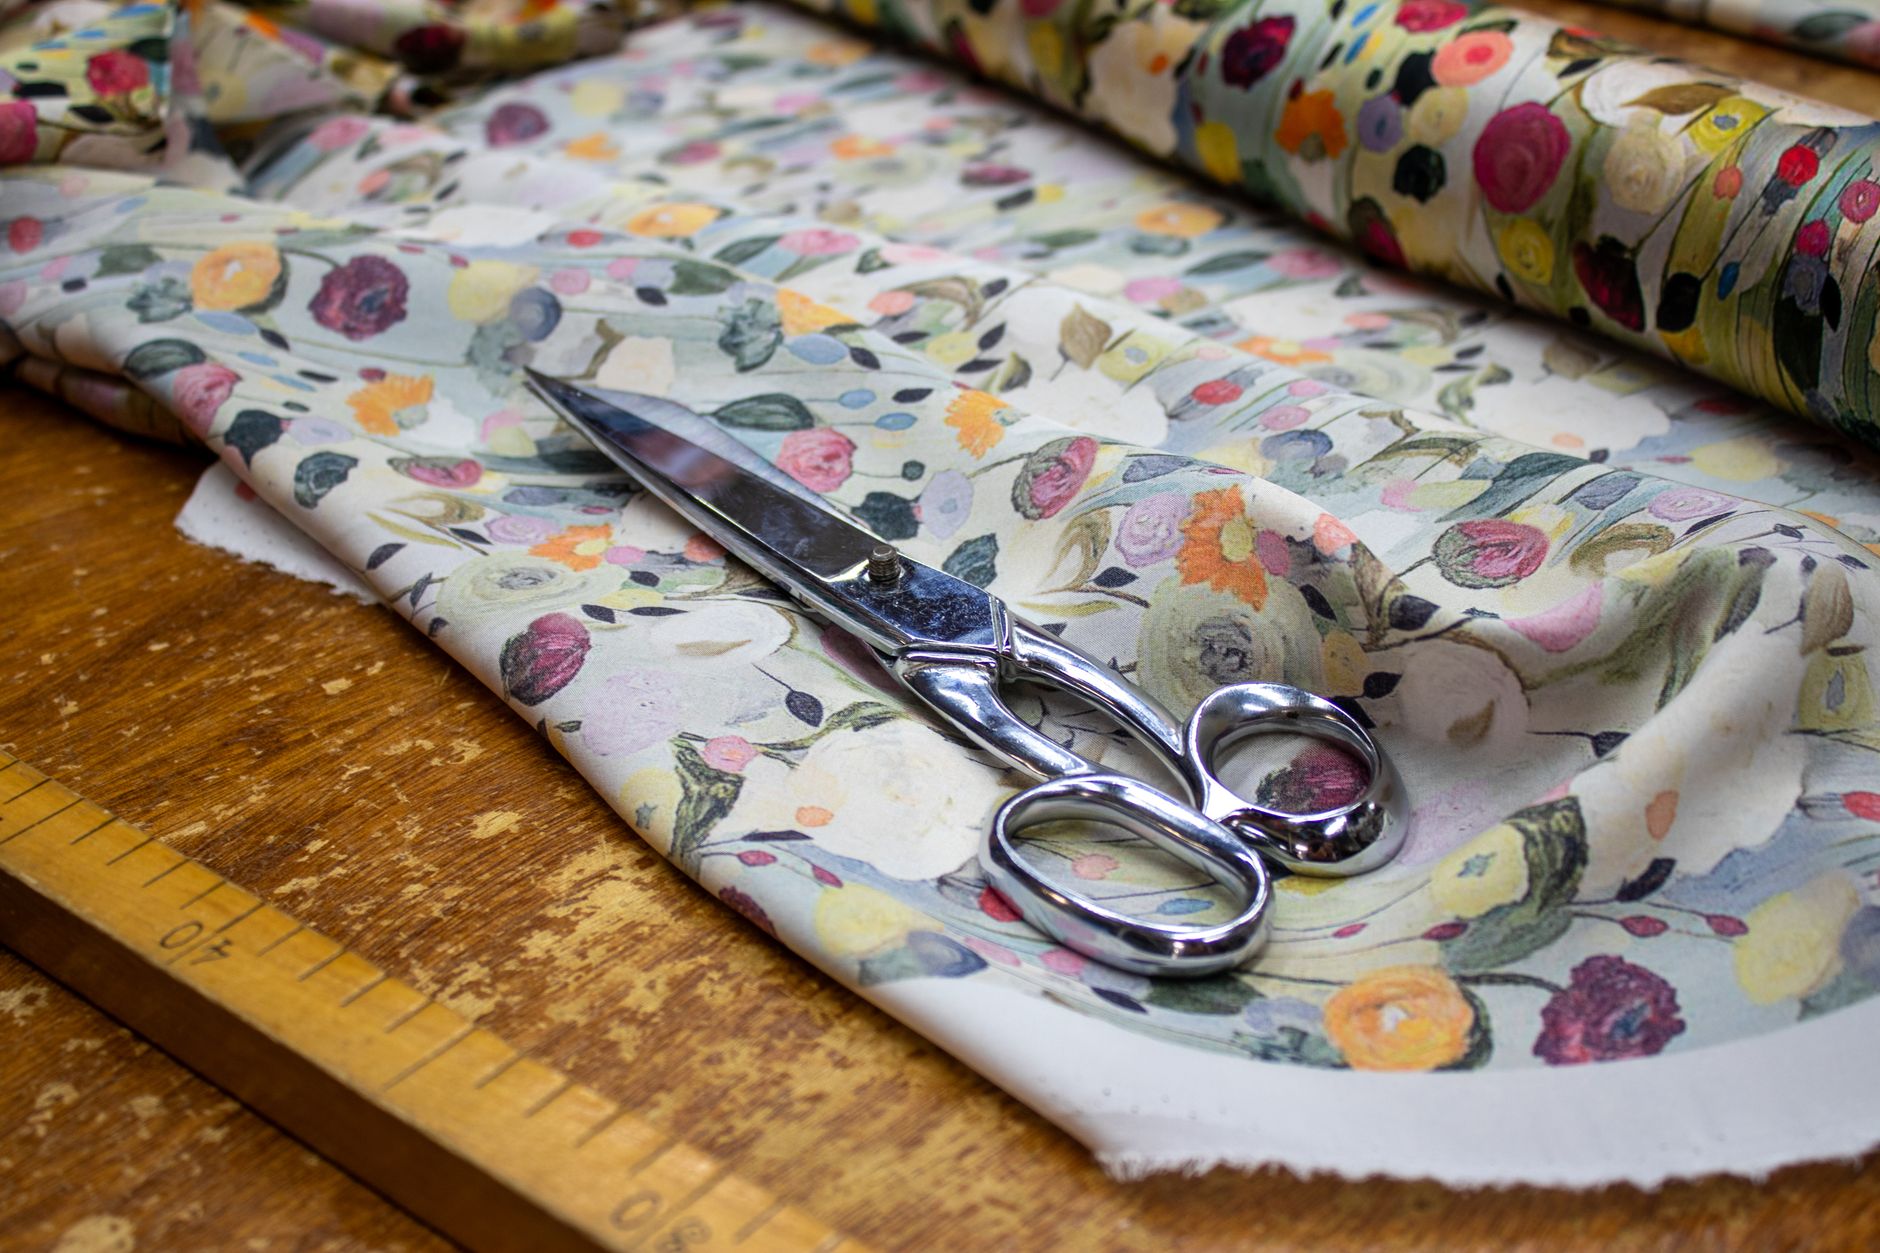
Slippery fabrics cause more abandoned projects than almost anything else in sewing. You lay out a gorgeous piece of digitally printed satin or chiffon, and the moment you reach for your scissors, the whole thing shifts three centimetres sideways. It's frustrating, but it's fixable. Once you understand why these fabrics move and how to control that movement at each stage, cutting and sewing them becomes far less stressful.
Why slippery fabrics behave the way they do
Most slippery fabrics are wovens with a very tight, smooth weave or a satin weave structure. Satin weave places long floats of thread on the surface, which is exactly what creates that liquid sheen. The downside is that smooth threads slide against each other freely, and against your cutting mat, your hands, and each other. There's no texture to create grip, so the fabric keeps moving until something holds it firmly in place.
Chiffon adds another problem: it's so lightweight that it lifts with the air current from your own hand moving over it. Silk crepe and charmeuse sit between these extremes but share similar tendencies. Knowing your specific fabric's behaviour helps you choose the right technique. A heavy silk charmeuse needs different handling than a featherweight polyester chiffon.
Preparing before you cut
Preparation is the step most people skip, and it's where most slippery-fabric disasters start. Pre-wash the fabric if the finished project will ever be washed, because slippery fabrics can shrink and distort on their first wash. Check the care label for guidance on temperature and machine settings. If you need a refresher on decoding those symbols, how to read fabric care labels covers every symbol you'll encounter.
Once the fabric is clean and dry, press it gently with an iron on a low setting, using a pressing cloth between the iron and the fabric surface. This removes any fold-set creases and lets you see the true grain line before you cut. For digitally printed fabrics in particular, keeping the iron off the printed surface directly is important. The guide on how to iron printed fabric without ruining the design explains exactly which settings and barriers to use.
Cutting slippery fabric accurately
The single most effective tool for cutting slippery fabric is a rotary cutter on a self-healing mat. Scissors require you to lift the fabric as you cut, which lets it shift. A rotary cutter stays flat against the mat and slices cleanly without disturbing the fabric's position.
Before cutting, stabilise the fabric using one of these three methods:
- Tissue paper layers: place a sheet of tissue paper under the fabric and another on top, then pin through all three layers and cut. The tissue tears away cleanly after cutting.
- Pattern weights: skip pins altogether and use heavy pattern weights every 15 centimetres along the pattern piece edges. Pins can distort slippery fabric by pulling the weave slightly; weights don't touch the surface.
- Freezer paper: for very short grain runs, iron freezer paper (shiny side down, low heat) temporarily to the fabric. It peels away without residue and gives you a firm cutting surface.
Always cut on a single layer where possible. Folding slippery fabric doubles the chance of the layers sliding against each other mid-cut. Yes, it takes longer. It's worth it. Use a sharp blade in your rotary cutter; a dull one drags the fabric and creates tiny snags along the cut edge.
Pinning and seam preparation
Fine, sharp pins are essential. Dressmaker pins with glass heads work well; avoid thick pins that leave visible holes in delicate fabrics. Pin within the seam allowance only, not through the actual pattern piece, so any pin marks stay hidden in the seam. Place pins perpendicular to the seam line rather than parallel. Parallel pins are harder to remove smoothly as you sew.
For very shifty fabrics like chiffon, hand basting before machine sewing is not optional, it's the only way to keep both layers moving at the same rate under the presser foot. Use a long hand stitch roughly 5 millimetres inside the seam line, sew the machine seam, then remove the basting. It adds 10 minutes. It saves 30 minutes of unpicking.
Washi tape along the seam line on the underside of the fabric is another useful trick. It grips the feed dogs slightly without damaging the fabric and helps prevent puckering on the straight stitch.
Machine settings that make a difference
Your regular all-purpose presser foot is rarely the right tool for slippery fabrics. A walking foot (also called an even-feed foot) moves both layers of fabric through the machine at exactly the same rate, which prevents the top layer from creeping ahead of the bottom layer mid-seam. If you sew slippery fabrics regularly, a walking foot is worth buying.
Set your stitch length shorter than usual: 1.8 to 2.0 millimetres works well for satin and silk-weight fabrics. Longer stitches can cause the seam to pull and distort on fine weaves. Reduce your presser foot pressure if your machine allows it. Too much downward pressure on thin fabric causes puckering even when everything else is correct.
Start and end each seam by holding the thread tails gently out behind the presser foot as you begin. This stops the machine from pulling the fabric edge down into the throat plate, which creates a tangled knot at the start of the seam. It happens constantly with lightweight fabrics and is preventable with this one small habit.
Finishing edges on slippery fabric
Raw edges on slippery wovens fray quickly and aggressively. Finish edges immediately after cutting: an overlocker gives the cleanest result, but if you're using a domestic sewing machine, a narrow zigzag stitch directly on the cut edge, or a rolled hem foot on chiffon, both work well. French seams are a beautiful finish for lightweight slippery fabrics because they enclose the raw edge completely inside the seam. They add a step but produce a genuinely professional result that holds up through washing.
Hems on slippery fabrics are notoriously difficult to keep straight. Hang the finished garment or piece for 24 hours before hemming to let the bias areas relax and drop. Mark the hem while the piece is hanging, not laid flat, to account for any natural stretch or drop. A narrow hand-rolled hem is the most elegant option on chiffon and lightweight silk. For heavier satins, a narrow machine hem with the walking foot gives a clean, stable finish.
A note on digitally printed slippery fabrics
Digitally printed satin and chiffon bring an extra consideration: the print direction matters for placement, and any cutting error that shifts a design element off-grain is visible immediately. Take time to identify the true grain line before cutting, not just the selvedge edge. On some digitally printed fabrics the design is printed slightly off-grain, and you'll need to decide whether to follow the grain or the print. For large pattern pieces, following the print usually gives a better visual result even if it's technically off-grain.
Fabric by TrishaMakes prints on a range of fabric bases, some of which are slippery weaves. If you're planning a project with a custom print on satin or chiffon, cutting and sewing the fabric with these techniques will protect both the print and the seam structure through every step of construction.
Slippery fabrics reward patience. Cut slowly, stabilise at every step, and don't rush the machine settings. The fabric that seemed impossible to control becomes manageable with the right setup.