
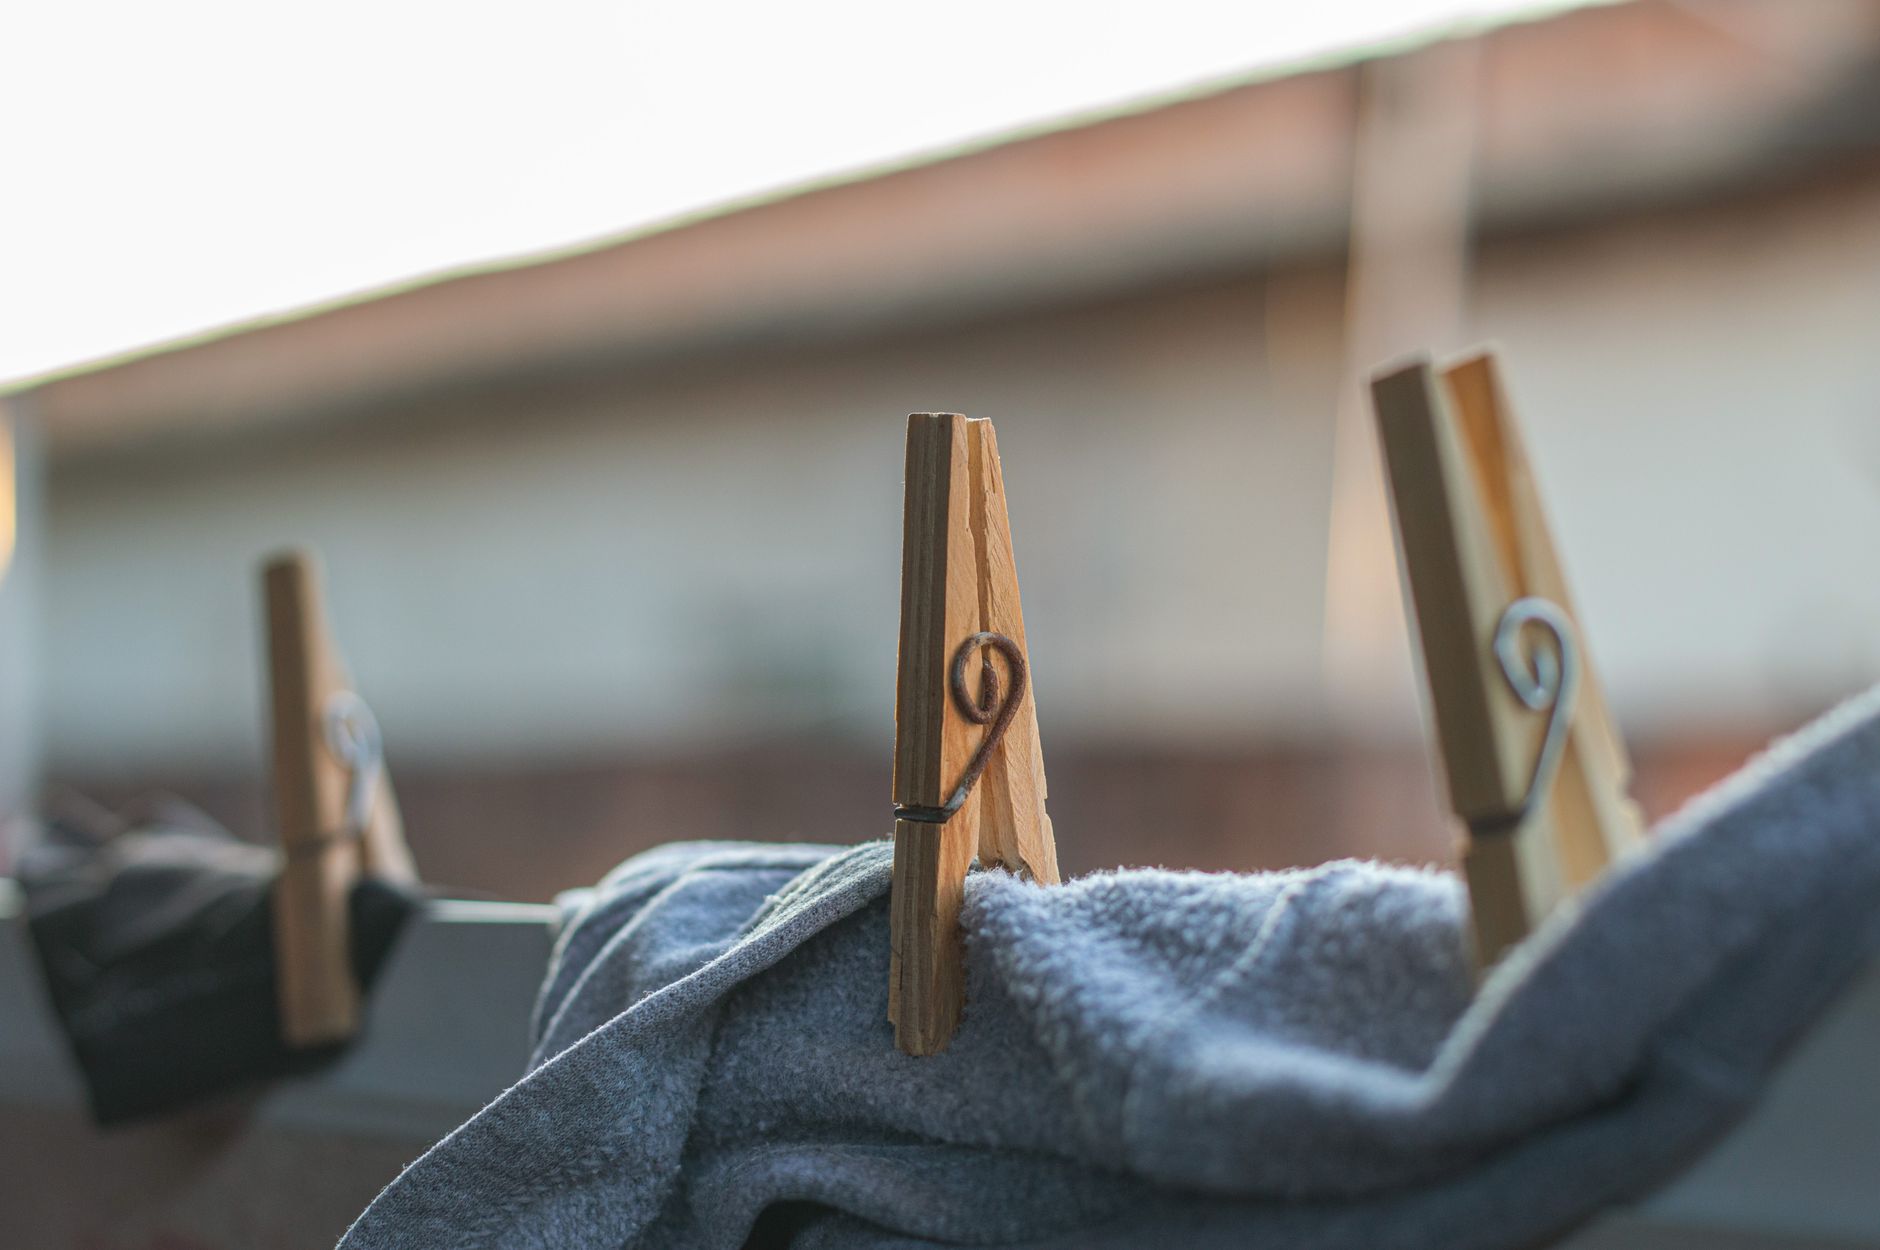
A fabric peg bag is the kind of project that non-sewists don't think about until they see yours hanging on the line. It's quick to make, genuinely practical, and one of the best uses for a fat quarter or a collection of offcuts. Most sewists can finish one in under two hours, even with hand-pressing and topstitching.
What you'll need before you start
The materials list is short. You need two fat quarters of fabric, or a single piece measuring roughly 40 cm x 60 cm, which is enough for both the outer and inner layers. A wire coat hanger forms the frame and the hanging hook in one. You'll also need a 20–25 cm piece of dowel or a second wire hanger if you prefer a rigid opening, but the coat hanger method is the most common approach and the easiest to source.
For fabric choice, a medium-weight cotton or a canvas works well because it holds its shape outdoors. If you're using a printed fabric, choose something with a tighter weave so the print stays crisp after repeated exposure to sun and light rain. Fabric by TrishaMakes preorder fabrics in quilting cotton weight handle this project beautifully, and a single preorder cut gives you more than enough for two bags.
You'll also need basic sewing supplies: scissors or a rotary cutter, pins or clips, an iron, and a sewing machine with a standard presser foot.
Cutting and preparing your fabric
Cut two rectangles, each 40 cm wide by 60 cm tall. These will become the front and back of the bag. Fold each piece in half with right sides facing so you have two folded pieces, each 40 cm x 30 cm. Press the fold flat. The fold becomes the top of each panel, and the opening for your hand sits between the two folded panels later in the construction.
If your fabric is directional, make sure both pieces are oriented the same way before you cut. It's the kind of detail that's easy to miss when you're rushing. Our guide to directional fabric prints: how to spot them and cut them correctly covers exactly what to look for before you make the first cut.
Once cut, press the raw edges along the top of each folded panel under by about 1.5 cm. These pressed hems will become the finished opening edge when you join the two panels.
Sewing the bag together
Place the two prepared panels with their right sides facing outward and pressed edges aligned in the middle, overlapping by about 4 cm. This overlap creates the opening through which you reach in to grab pegs. Pin or clip the overlap in place.
Topstitch along the top and bottom of the overlap to secure it. Now treat the whole piece as a single rectangle, with the opening in the centre front.
Fold the entire rectangle in half with right sides together, so the short edges meet. Pin the side seams and sew down each side with a 1.5 cm seam allowance. If you want extra durability outdoors, run a second line of stitching 3 mm inside the first, or use a flat-felled seam. Clip the corners, then turn the bag right side out and press all the seams flat.
Adding the coat hanger
This is the part that makes the peg bag functional. Untwist the neck of the wire coat hanger slightly so you can work with it, but don't straighten it fully. Thread the hook up through the inside of the bag and out through the top centre seam or a small opening you've left for it. The hook should protrude about 4–5 cm above the bag so it can sit over the washing line.
Use a pair of pliers to bend the wire hanger so it sits flat inside the bag without bunching. The flat base of the hanger helps the bag hold its rectangular shape and keeps it from collapsing when it's full of pegs.
Hand stitch a few small reinforcing stitches around the wire at the top opening to stop the hanger from pulling through over time. This takes about three minutes and saves you from remaking the bag after a few weeks of use.
Finishing touches worth the extra five minutes
Topstitch around the entire outer edge of the bag, about 5 mm in from the seam. This tidies the look and compresses the seams so they don't fray even without a zigzag stitch or serger finish. It takes five minutes and makes the bag look professionally finished rather than homemade.
If you want to add a label, now is the time. A small woven label or a printed cotton label stitched to the inside back panel adds a personal touch and makes the bag a proper gift item. Peg bags sell well at markets too, especially in bold or novelty prints. If you're thinking about sewing projects for sale, they pair nicely with other small practical makes like a fabric lunch bag with a zip top or a fabric coin purse on the same stall.
Making it weather resistant
A peg bag lives outdoors. Even if it's hung in a covered area, it'll face humidity, UV exposure, and the occasional spray of rain. A few simple steps extend its life considerably.
- Pre-wash your fabric before cutting so it won't shrink after the first wet day.
- Use polyester thread rather than cotton, since polyester resists UV breakdown better over time.
- Spray the finished bag lightly with a fabric water repellent spray, reapplying every few months.
On a digital printed fabric, pre-washing is especially worth doing. It locks the dye and softens the weave slightly, which helps the finished bag drape neatly over the hanger rather than sitting stiff. For more on getting fabric ready before you cut into it, the guide on how to pre-treat fabric before sewing walks through every step.
Variations and quick customisations
The basic peg bag is a blank canvas. A few variations worth trying:
Double-sided fabric: Use two contrasting prints, one for the outer layer and one for the inner, so the inside of the bag is as interesting as the outside. It uses slightly more fabric but makes for a much better gift.
Patchwork front: Piece together offcuts in a simple grid layout before you cut the front panel. This works especially well with coordinating prints from the same preorder run, and it uses up smaller scraps that would otherwise sit in the bottom of a scrap bin.
Pocket on the back: Stitch a flat pocket to the back panel before assembly and use it to store extra pegs or a small notepad for the line. Add about 15 minutes to your total sewing time.
Whatever version you make, the construction stays the same. The opening, the wire hanger, and the reinforced top seam are the parts that matter for function. Everything else is personal.