
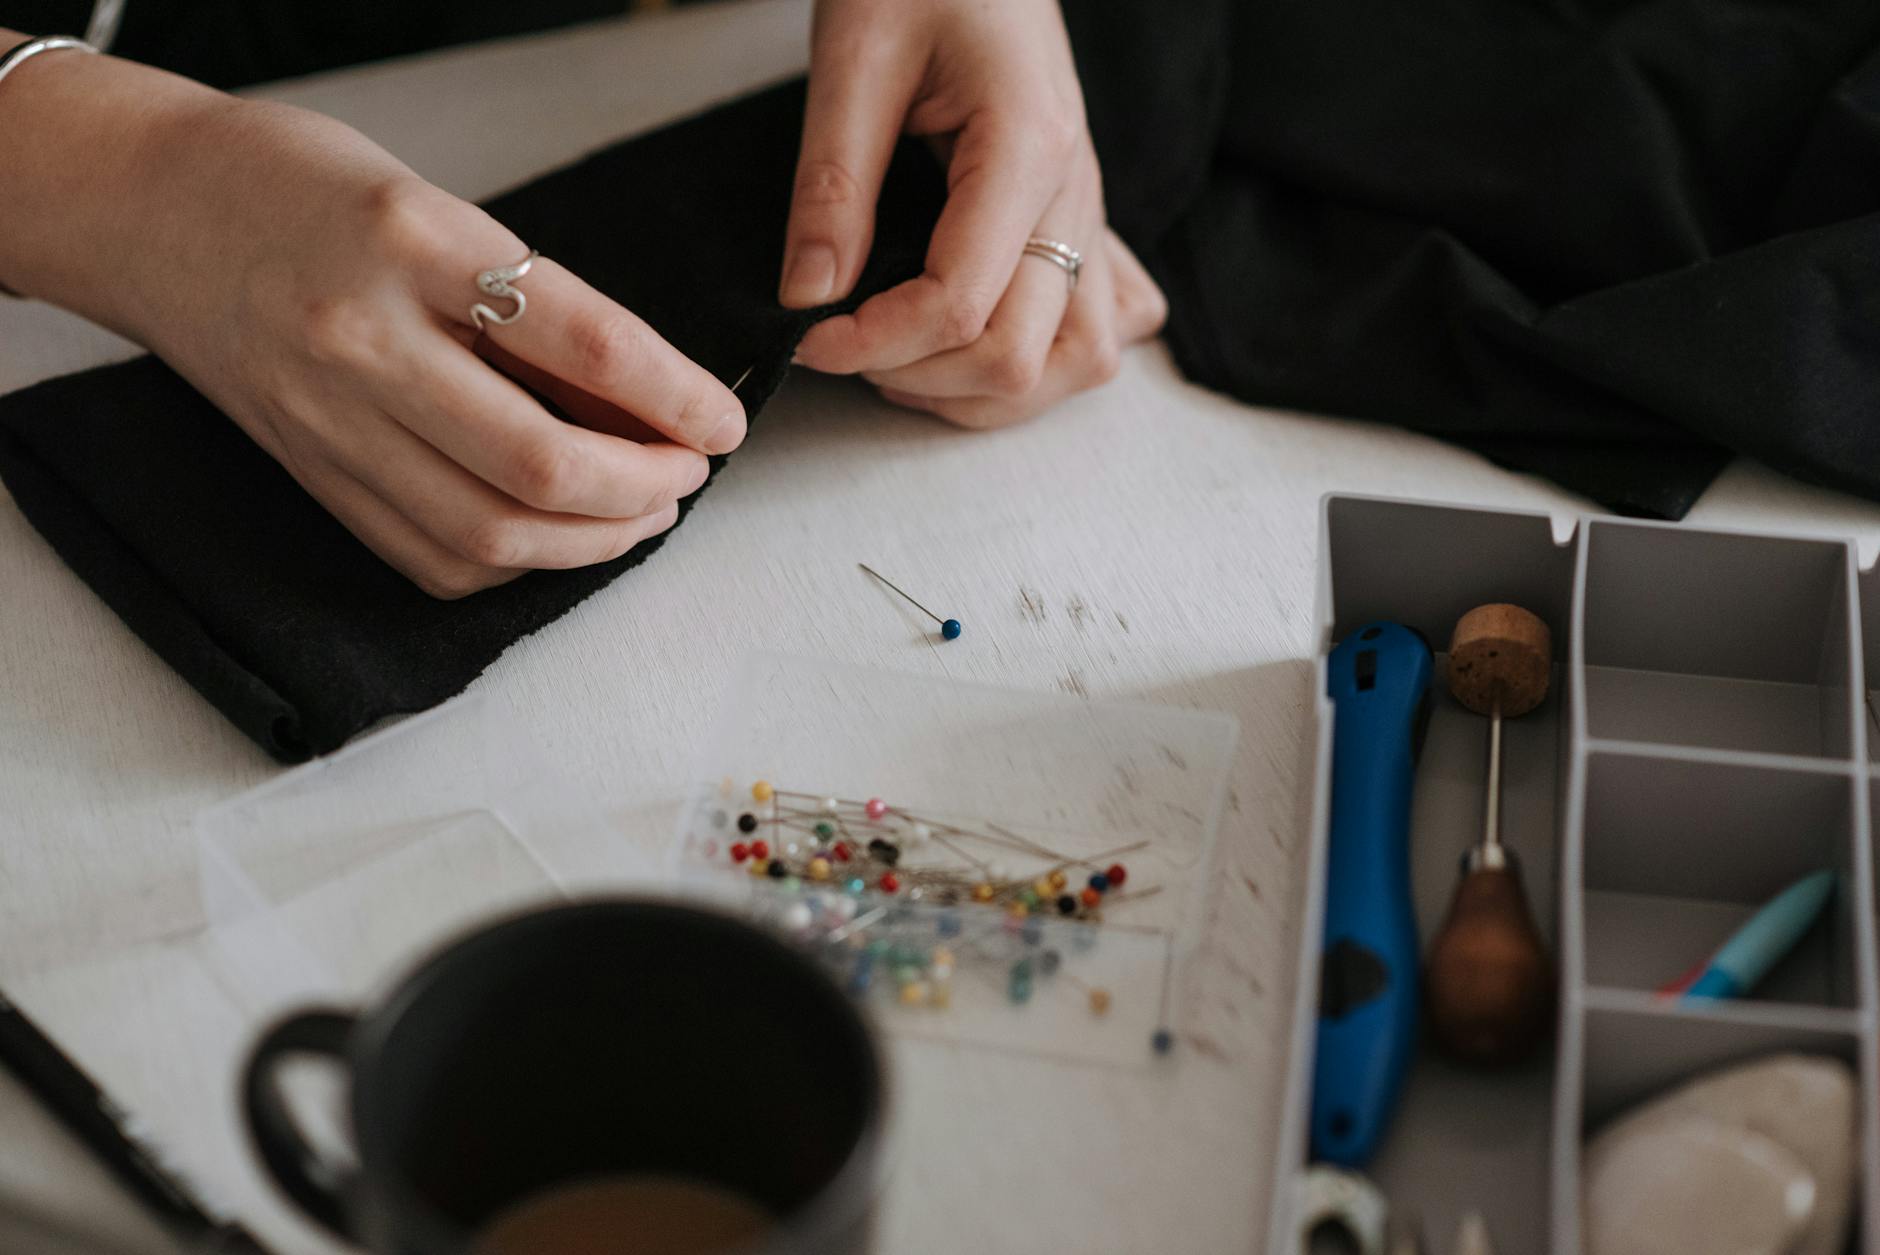
A fabric headband with a knot detail is one of the fastest projects you can sit down and sew on a weeknight. It uses up small cuts that are too good to bin and too small for anything else, takes about 45 minutes from cutting to finishing, and the result looks like something from a boutique rack. If you've been sitting on a gorgeous print that didn't survive a larger project, this is where it goes.
What you'll need
Before you cut anything, gather your materials. You'll need a fabric rectangle measuring roughly 60 cm x 18 cm for the main band, and a smaller piece measuring about 10 cm x 8 cm for the knot centre. A woven quilting cotton or a medium-weight jersey both work well. Stretchy knits give a more forgiving fit; wovens give a crispier structure. You'll also need a 2 cm wide elastic cut to approximately 15 cm (adjust to your head size), a hand sewing needle, matching thread, and a safety pin for threading.
Avoid very slippery fabrics for your first attempt. If you want to use a satin or a silky poly, check out the advice on slippery fabrics: how to cut and sew them without losing your mind before you start, because the cutting and pinning steps differ significantly.
Cutting your pieces
Cut your main band rectangle on the straight grain. For a woven, align the long edge with the selvedge direction so the band has the least stretch running lengthways. This stops the headband from distorting when worn. If you're unsure which direction that is, the fabric grain lines guide explains exactly how to identify it before you cut.
Cut the small knot rectangle on the same grain. Press both pieces with a warm iron before you sew. Flat fabric is easier fabric.
Sewing the main tube
Fold your main rectangle in half lengthways, right sides together. Pin along the long raw edge. Sew a 1 cm seam down the length, then turn the tube right side out. A chopstick or a blunt pencil works perfectly for pushing the fabric through. Press the tube flat with the seam centred on the back.
Don't press the seam to one side yet. Centre it first, then press. It makes the finished headband sit far more neatly when worn.
Inserting the elastic
Attach a safety pin to one end of your elastic. Feed the safety pin through one open end of the tube, gathering the fabric as you go, until the elastic exits the other end. Pull both ends of elastic so they sit level with the raw fabric edges. Pin them in place. Stitch across each end of the tube to anchor the elastic, using a 1 cm seam. Trim the corners to reduce bulk. Turn under the raw edges on one end of the tube and slipstitch it closed by hand, or fold one end inside the other and topstitch neatly across.
Making the knot centrepiece
Take your small rectangle and fold it into thirds lengthways, then fold it in half to form a short strip. Wrap it tightly around the centre of your headband, pulling it snug. Fold the raw ends to the back and slipstitch them together securely. This is the only hand sewing step in the whole project, and it takes about 3 minutes.
The tighter you wrap the knot, the more defined it looks. Loose wraps tend to slide over time, so pull it firm before you stitch.
Choosing the right fabric print
Because the finished headband is small, large-scale prints often get lost. A medium or small repeat shows better at this scale: think ditsy florals, geometric tiles, or a tone-on-tone texture. Directional prints need a little planning at the cutting stage so the motif reads the right way up when worn. Bold colour contrast between the main band and the knot centrepiece creates a high-end look with minimal effort.
Fabric headbands are one of the most popular small makes for easy side hustle sewing projects, largely because the material cost is so low and the perceived value is high. A set of three in coordinating prints sells consistently at markets and in online shops.
Finishing and sizing tips
Standard elastic length of 15 cm fits most adult heads comfortably once the band is gathered. For children, reduce the elastic to around 10 cm and the main rectangle to 50 cm x 16 cm. For a wider, more statement band, increase the rectangle width to 22 cm and cut the tube accordingly.
Wash the finished headband inside out on a gentle cycle and lay it flat to dry. Most woven cottons and jerseys hold their shape well with this method. If you used a digital printed fabric, cold water is safer for keeping the colours crisp. The print is the whole point of the thing, so it deserves the care.
Packaging and gifting
A fabric headband rolls neatly into a small bundle and ties well with a piece of ribbon or twine. For markets, a simple card backing with your logo lifts the presentation considerably. For gifting, a coordinating fabric gift bag turns two small projects into one beautiful set that feels genuinely considered.
If you're making a batch, cut all your rectangles in one session before you sew a single seam. Batching the cutting separately from the sewing is the fastest way to get through a stack of headbands without losing your place or your patience.